How do I create a sub-account user role that can manage Rubrics and Outcomes?
This lesson will provide the steps necessary to provide a user with adequate permissions to create, edit, and report on outcomes for a given sub-account. For this lesson, we are calling this role "Outcomes Manager" but you can title it whatever you want.
Open Account
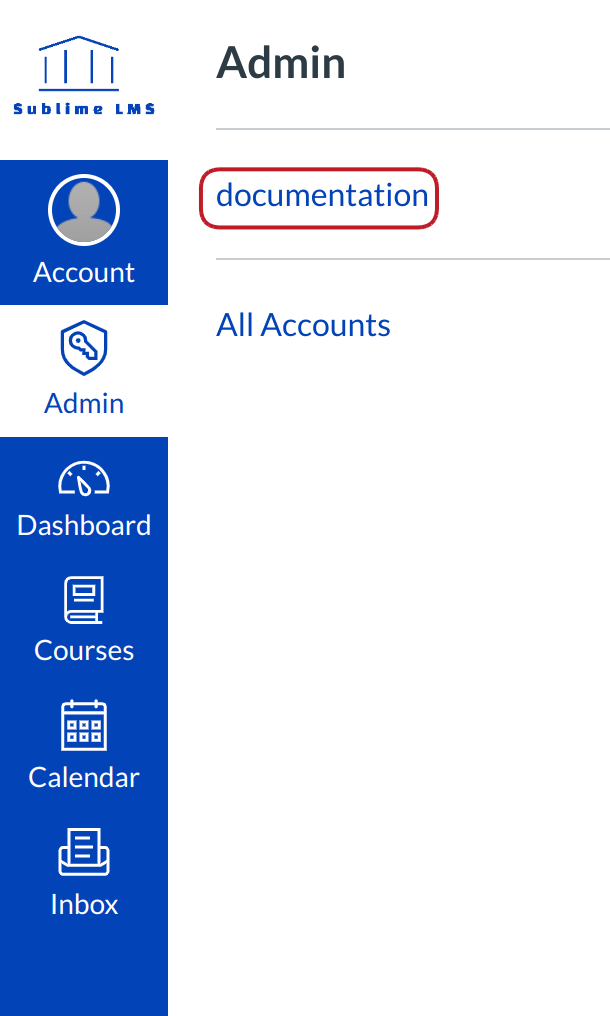
In Global Navigation, click the Admin menu [1], then click the name of the account [2].
Open Sub-Accounts
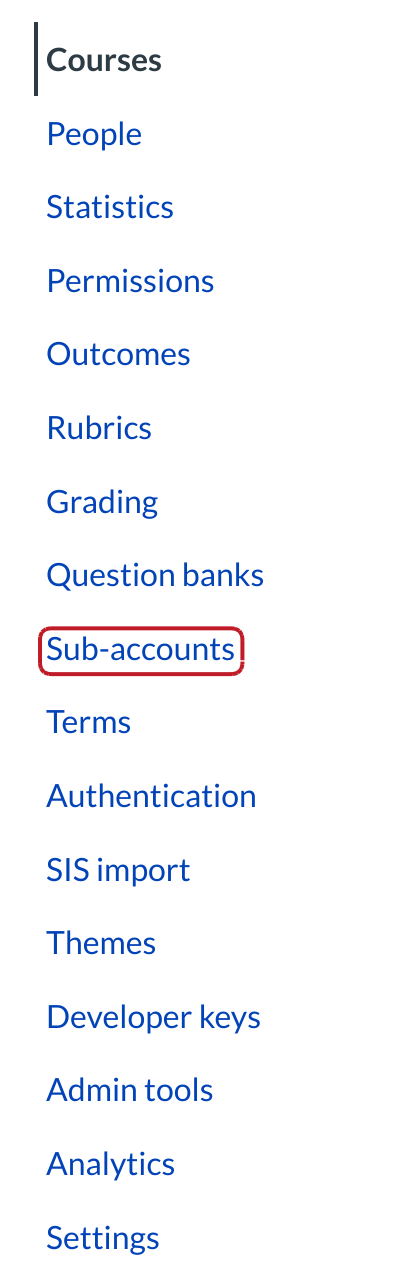
In Account Navigation, click the Sub-Account link.
Open Permissions Page
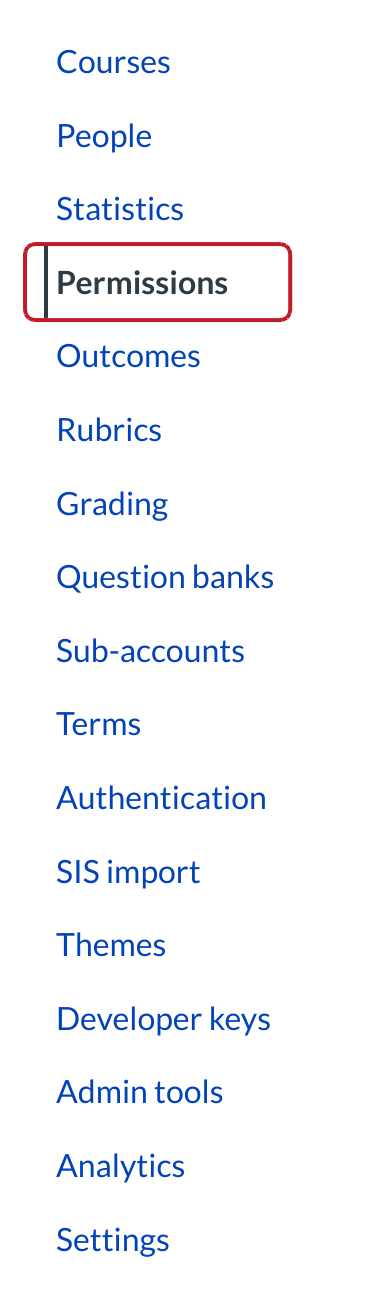
In Sub-Account Navigation, click the Permissions link.
Open Sub-Account

Click the sub-account title.
View Account Roles

Click the Account Roles tab [1] and then click the Add Role button [2].
Create a Custom Admin Role
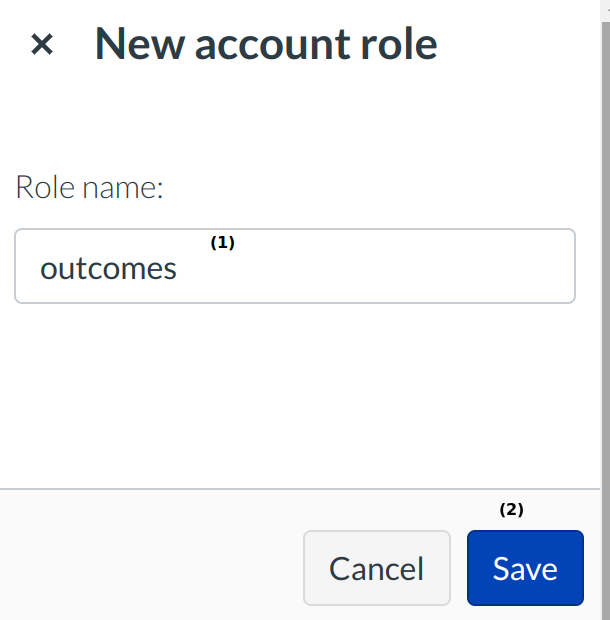
You can create a New Role Type with limited permissions. Type the name of the new role type in the new role type field [1]. Click the Save button [2].
Set Outcomes Manager Permissions
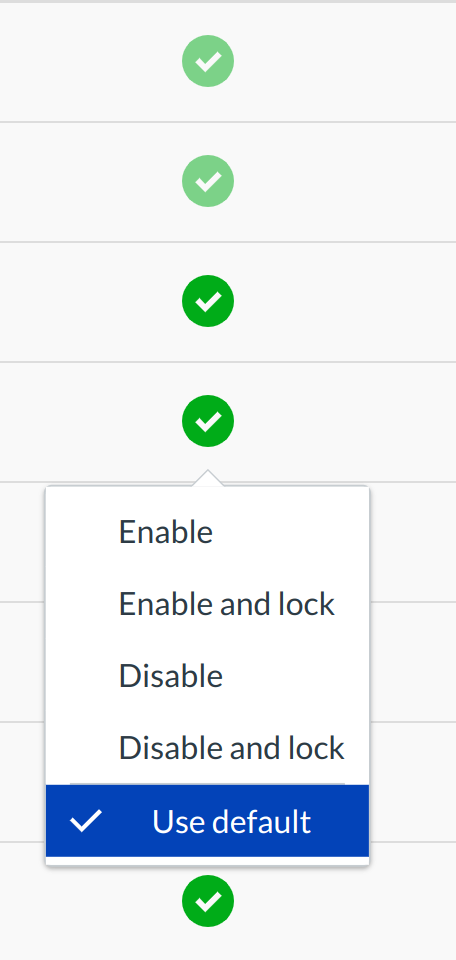
Click to select or deselect the permissions. To create an Outcomes Manager role select the following Account Permissions using the check boxes:
- View Statistics
- Manage learning outcomes
- View all grades
- See the list of users
- View analytics pages
- View usage reports for the course
- View course content
Open Users
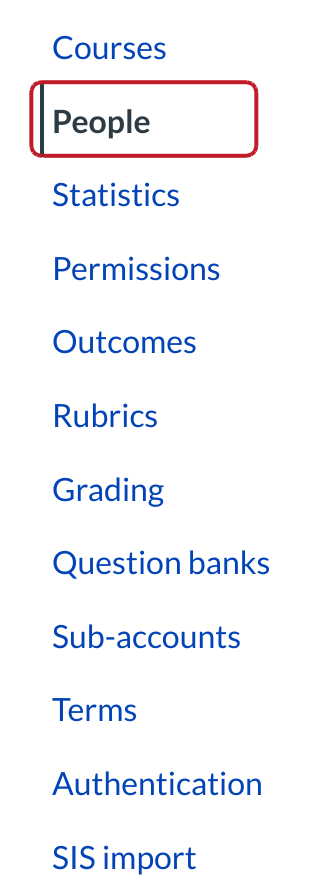
You will need to make sure the user you wish to become an Outcomes Manager has a user profile in the account. Click the Users link.
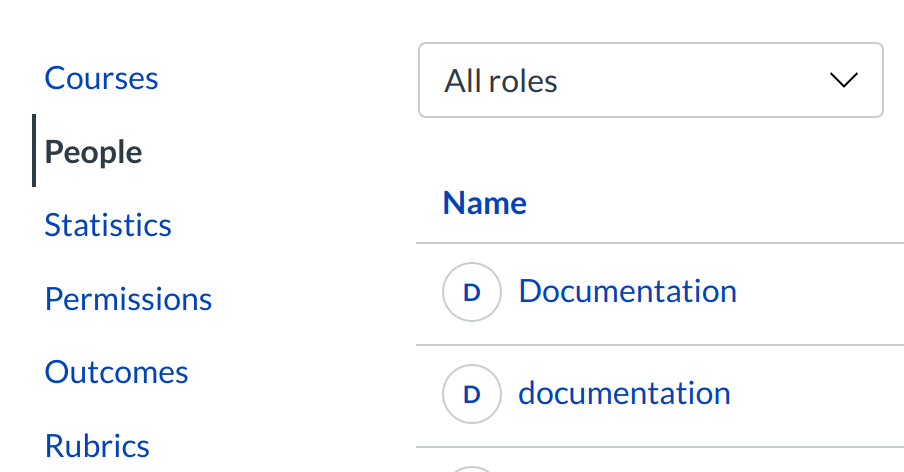
Ensure the User is in the Account
Open Settings
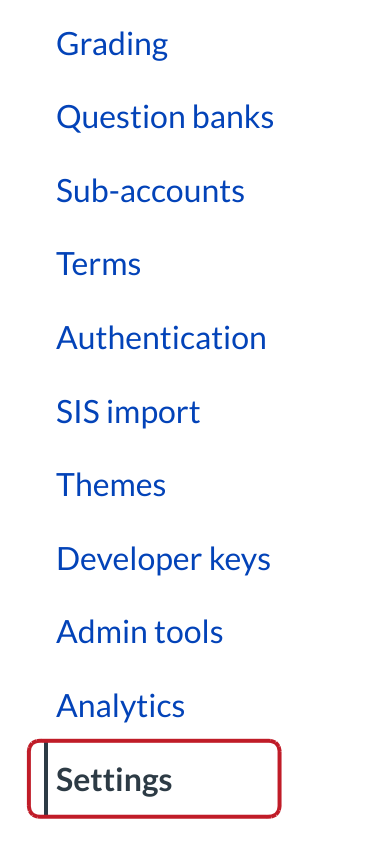
Click the Settings link.
Add Account Admins

Click the Add Account Admins button within the Admins tab.
Set Admin Type
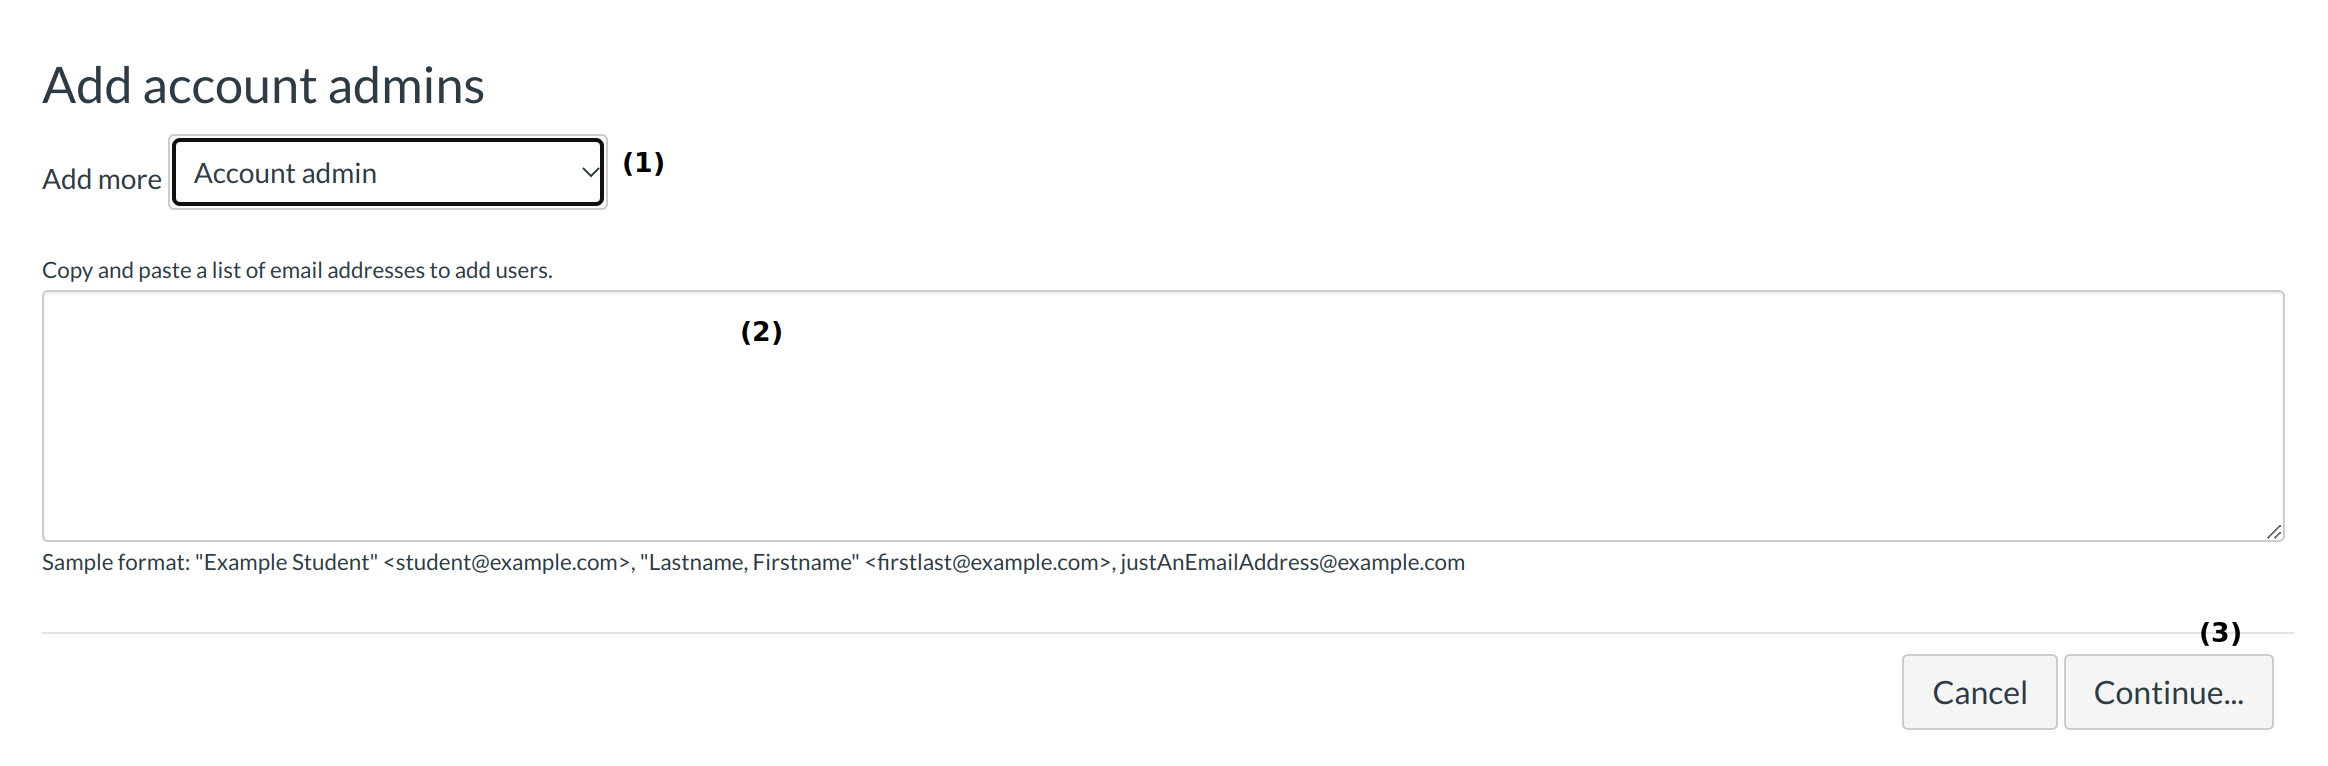
Select the Add More drop-down menu to set the admin type to Outcomes Manager [1]. Type the email address of the user in the user ID field [2]. Click the Continue... button [3].
Verify User
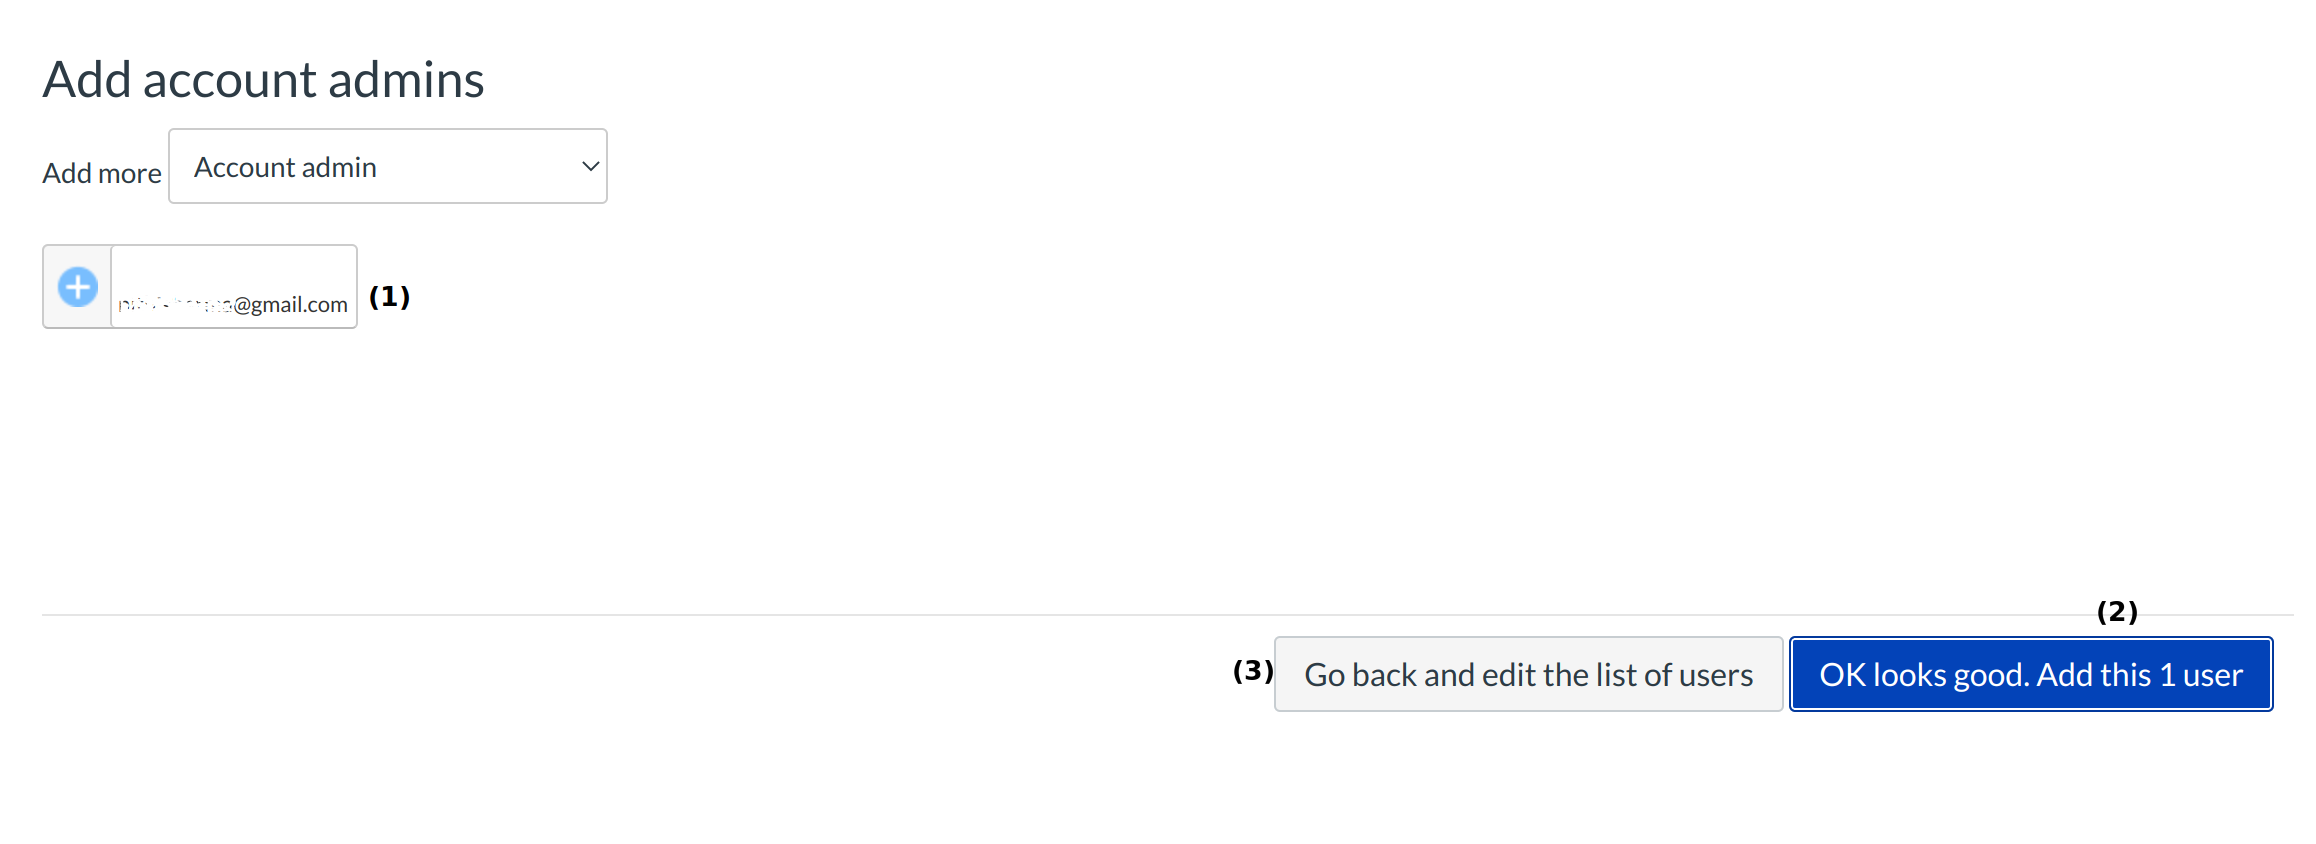
Verify the user you added is listed in the admin field [1]. Select the OK Looks Good, Add this [#] User button to add the admin [2]. Click the Go back and edit the list of users link to adjust any errors [3].
View New Outcomes Manager

The Outcomes Manager will have access to Users, Statistics, Outcomes, Rubrics, and Reporting for the respective Sub-Account.