How do I set up term dates effectively?
The basic function of a term is to give default start and end dates to any course assigned to that term. Terms can be imported using a SIS file or manually set up. Make sure the term date is set up correctly before courses are moved into the term.
Navigate to Terms Settings
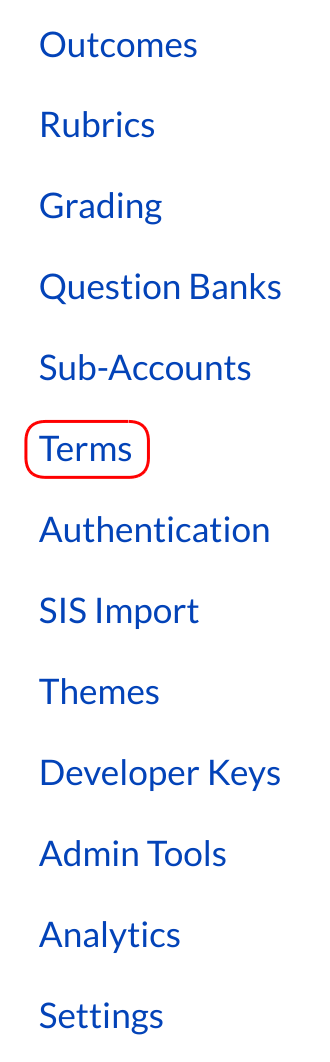
In Account Navigation, click the Terms link.
Click Add New Term

Click the Add New Term link.
Add Term Details
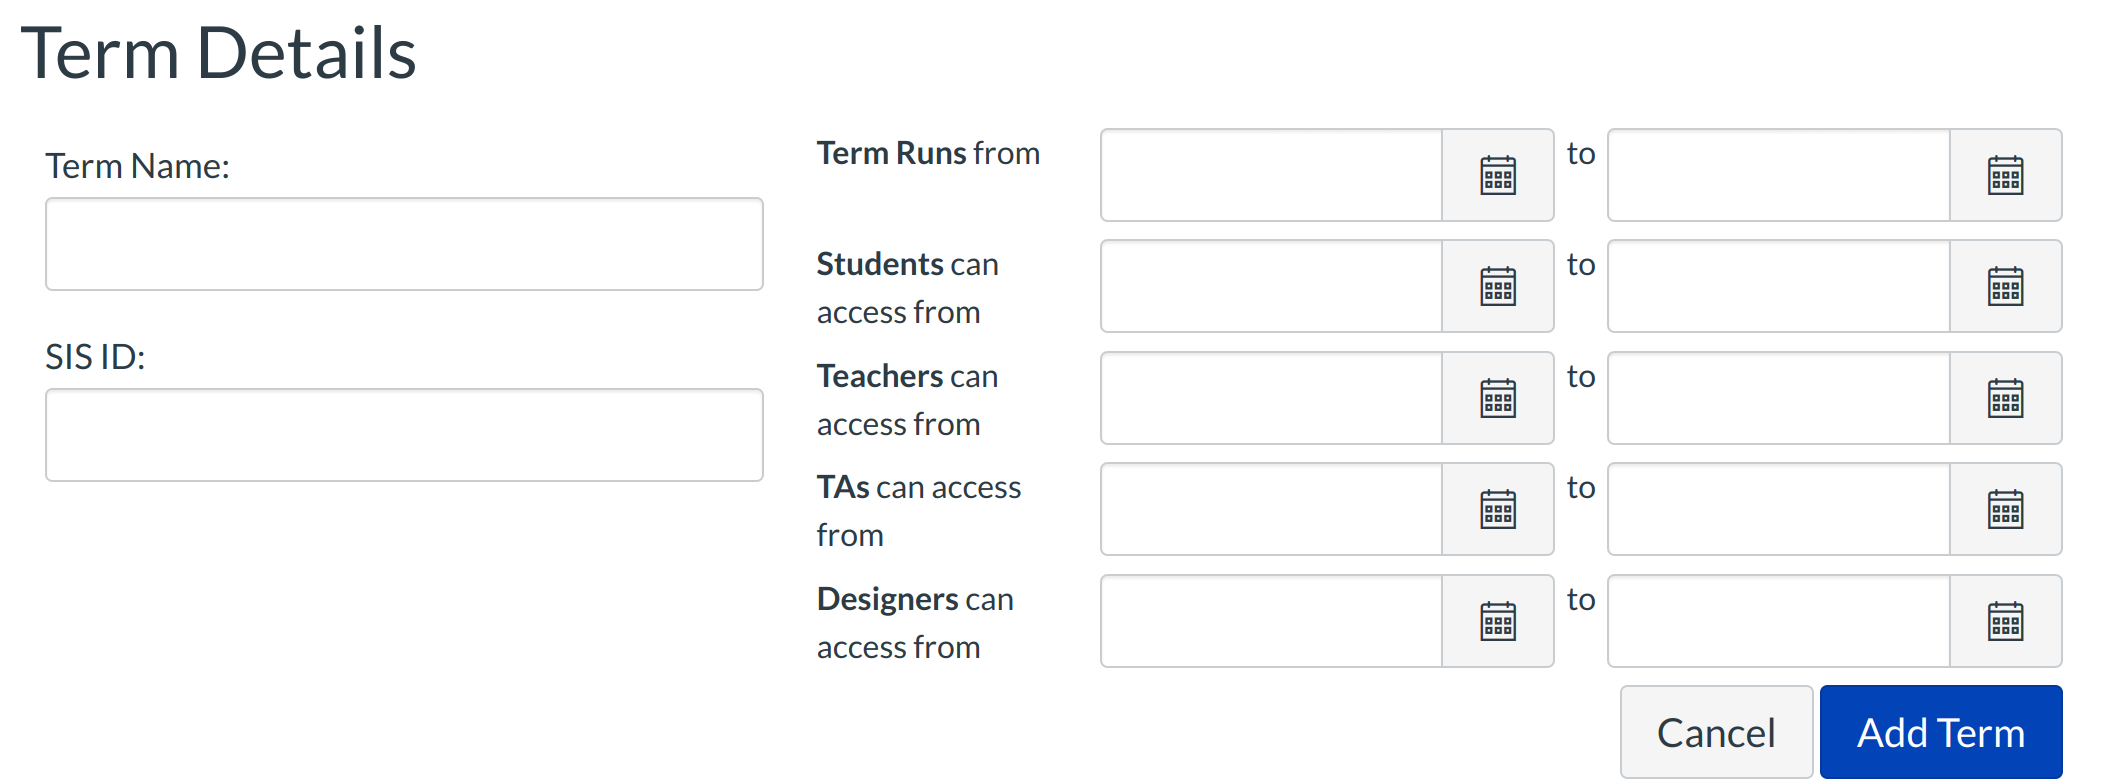
As you create a term, the student, teacher, and TA access dates will, by default, inherit the Term Runs from [date or term start] to [date or term end] dates unless an explicit date is entered in the fields.
This example shows that the term is called APR-MAY-2023.
1. The Term Runs from (default dates) go from April 1, 2023 to May 31, 2023.
2. Teachers can access it days before the term and until May 3, 2014.
The Students and TAs will have access to the course during the term default dates.
Note: Terms can be created with an SIS file. Depending on the institution, the SIS ID may be different. Example of an SIS ID is 202320, 202330, 202340. Each ID is for a different term for the year.
Click Add Term to save your changes.
View Changes

After clicking on Add Term, you can see the Term Details. This is what the term dates will look like. Teachers have a future end date so they can continue to access the course or get information from it before it is concluded.
To edit the term details, click the Pencil icon. To delete the term (without courses), click the Trash icon.
Note: Once a term has courses in it, it cannot be deleted.