How do I edit Assignment details?
There's a lot more that goes into an Assignment than due dates and points. If you want to type up a description of the Assignment, allow file uploads, change the Assignment type or a bunch of other things, you will need to edit Assignment details.
Open Assignments
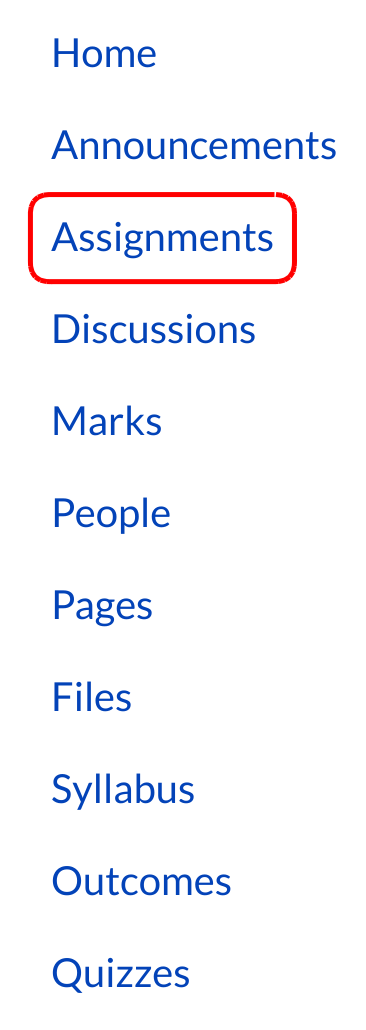
Click the Assignments link.
Open Assignment
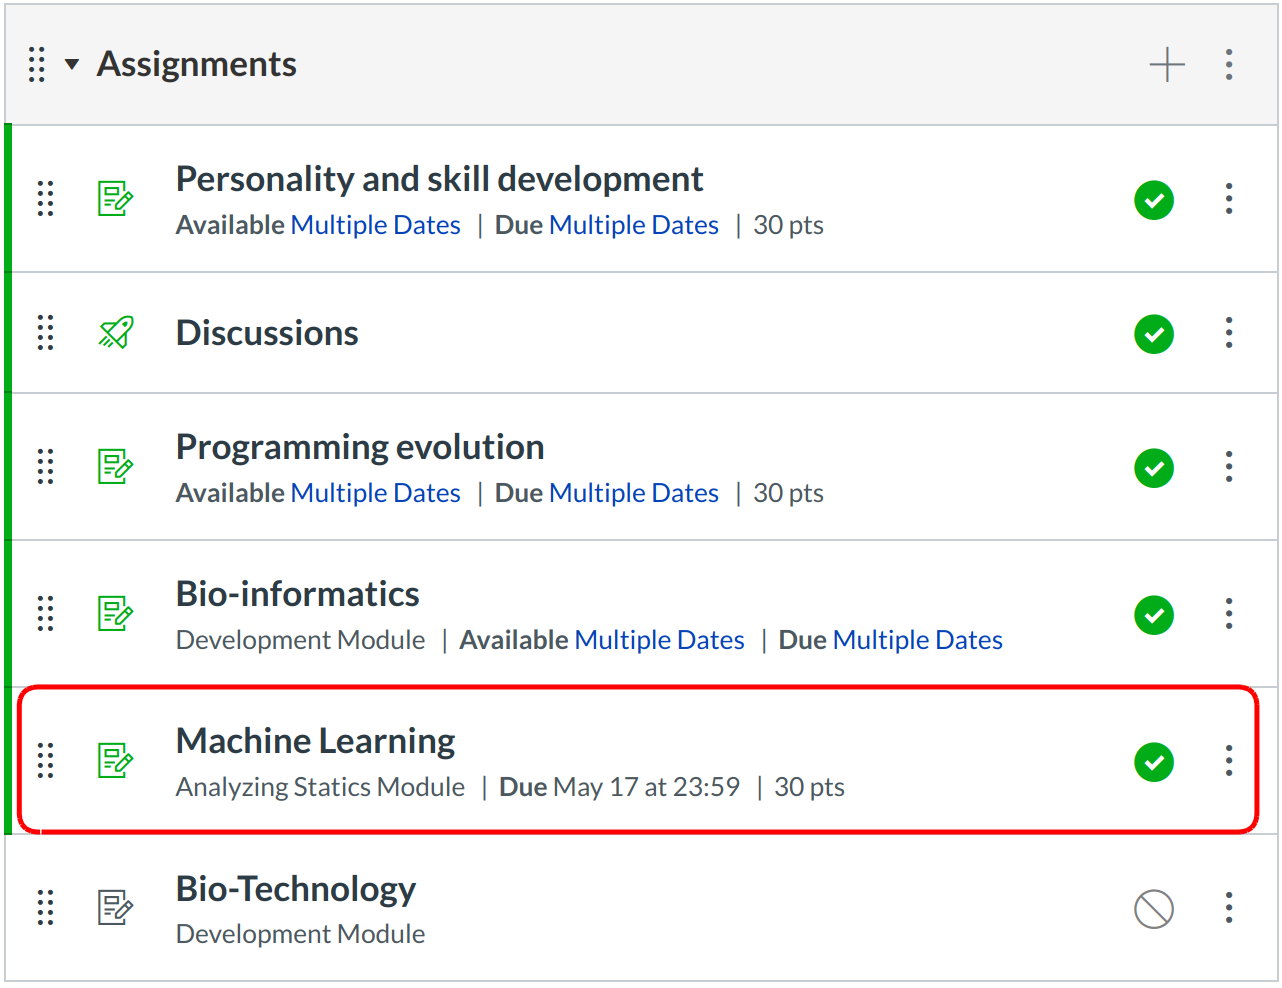
Click the Assignment title to open the assignment.
Edit Assignment
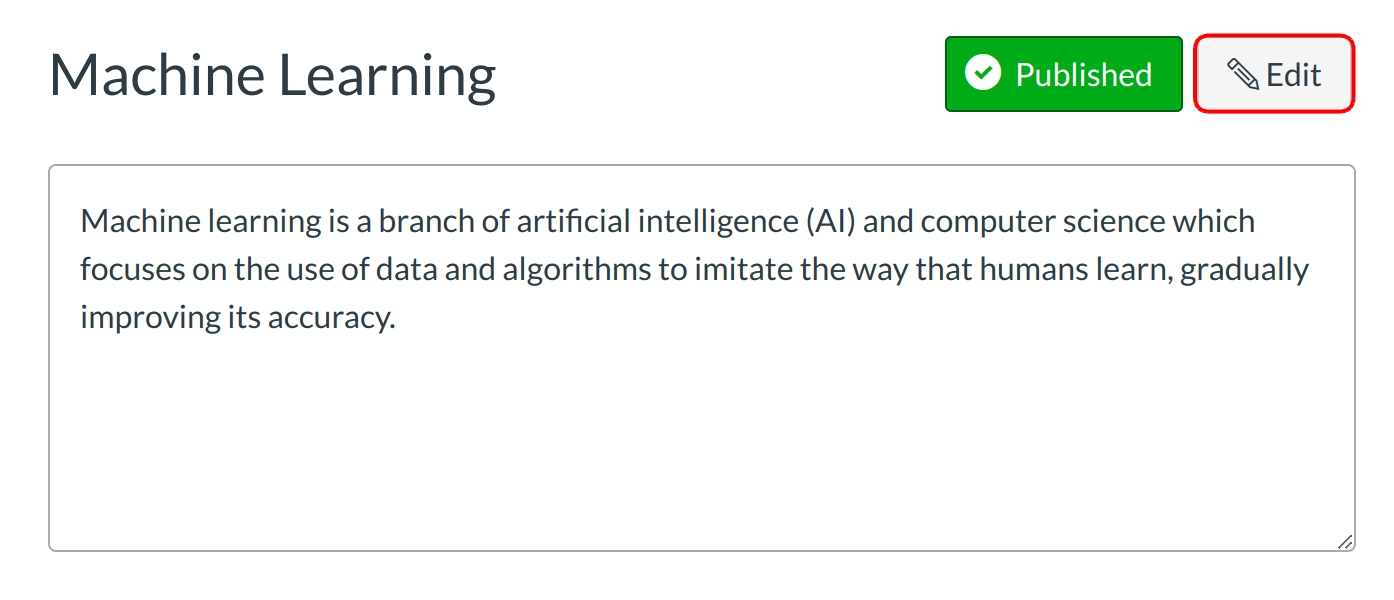
Click the Edit button.
Edit Assignment Details
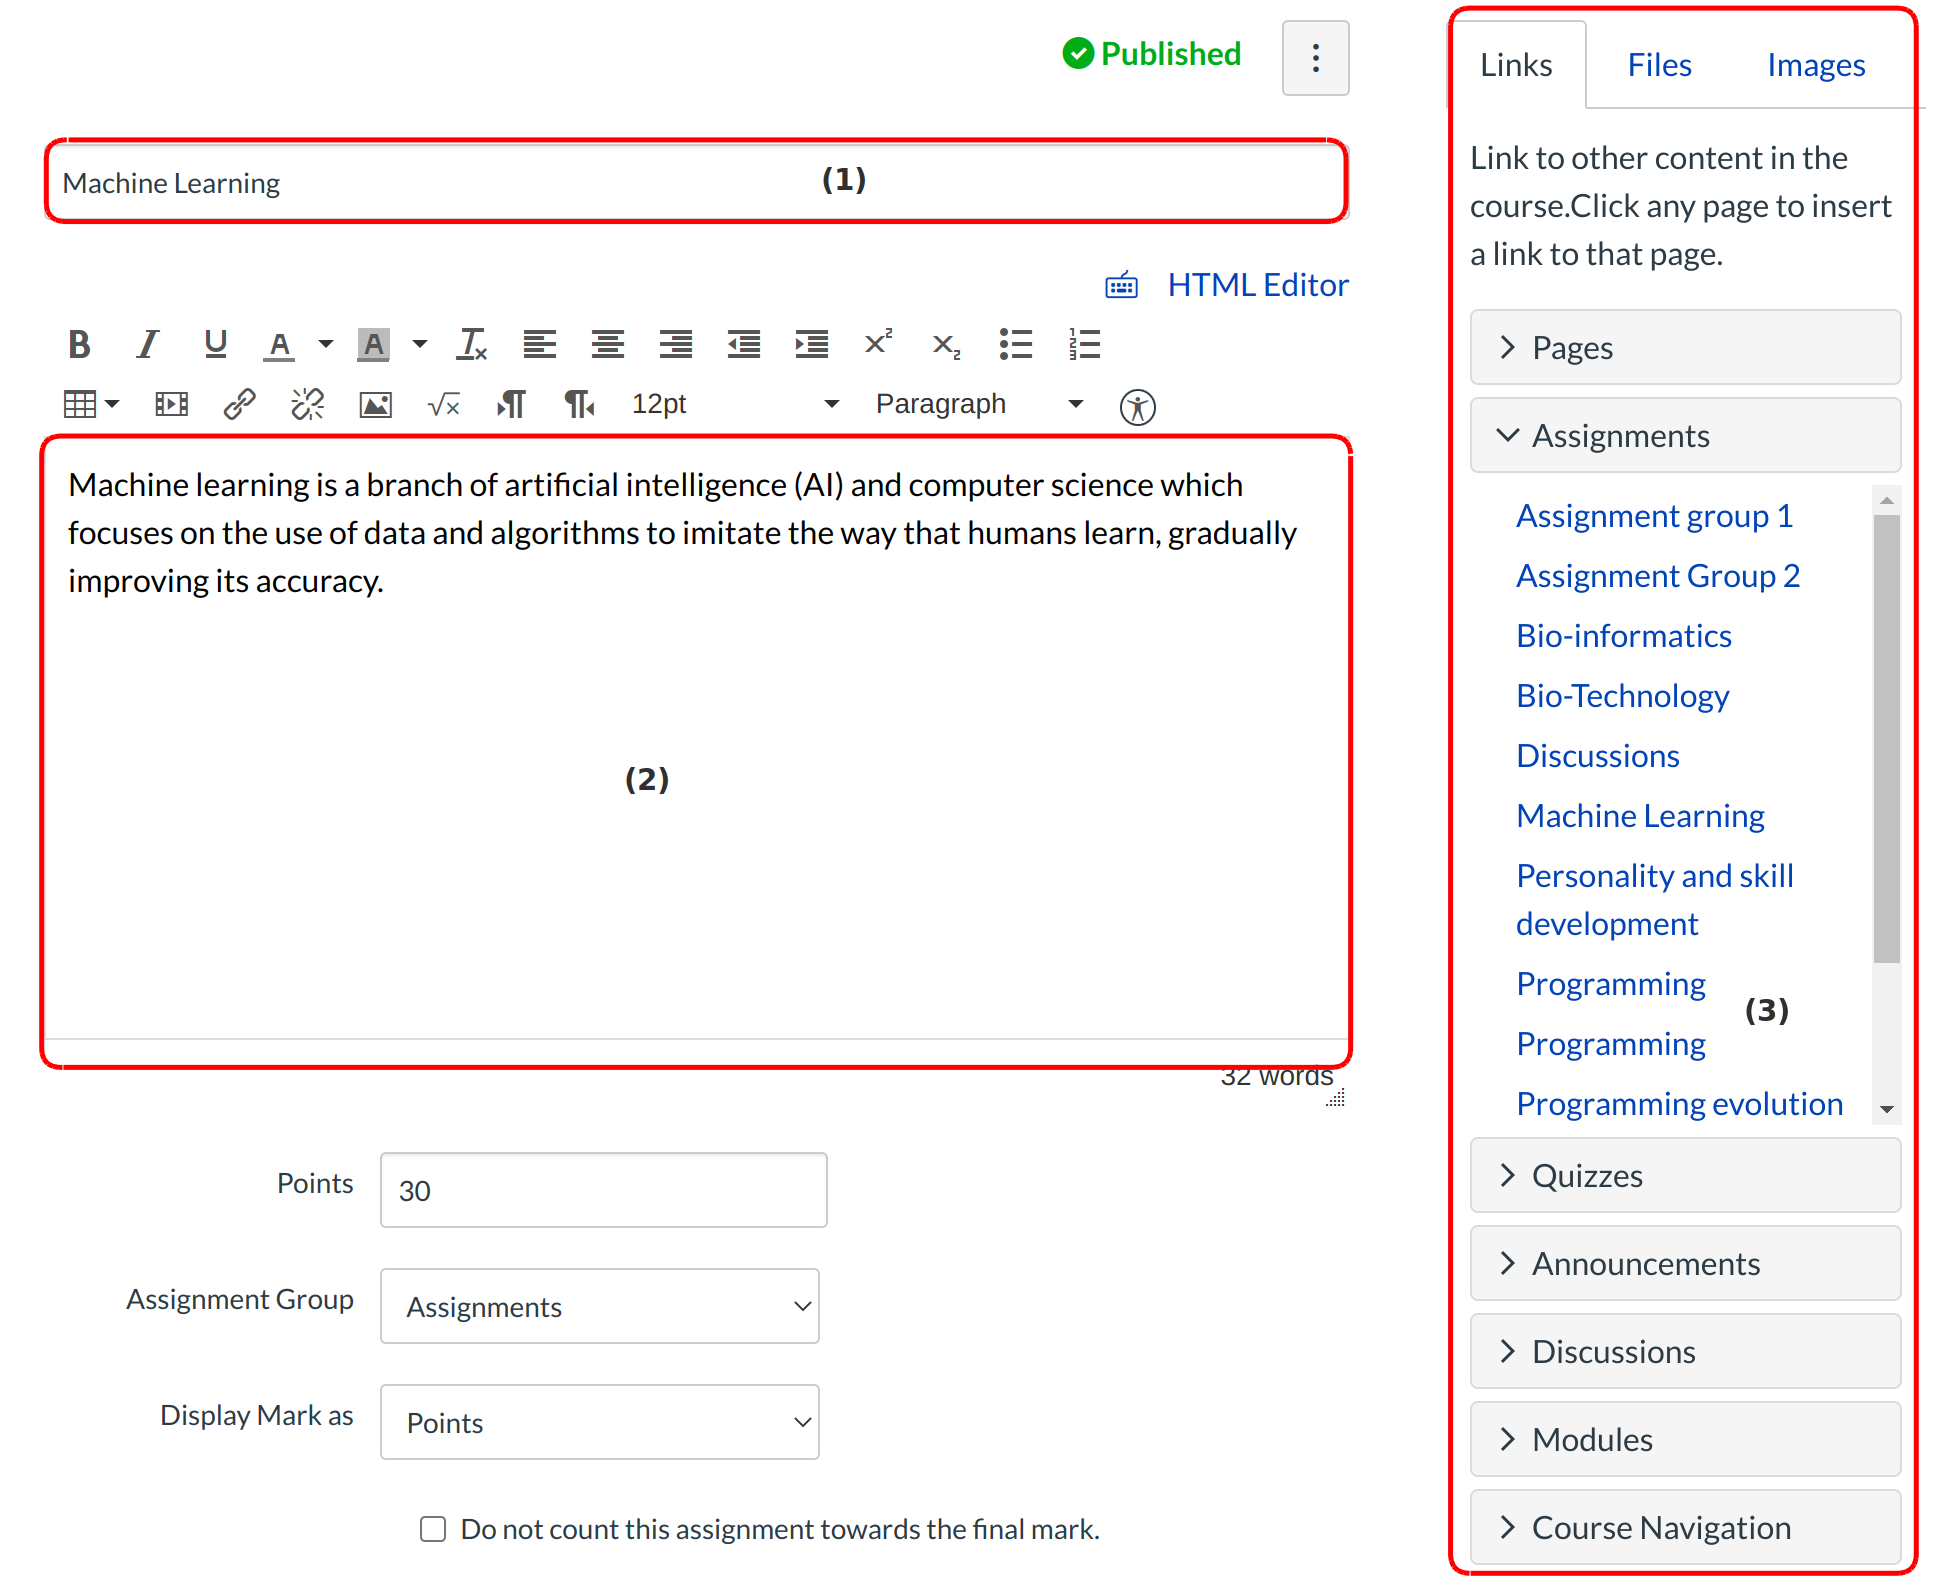
Type the assignment title in the text field [1]. Use the Rich Content Editor to add images, text, links, equations, or insert media [2]. Use the Content Selector in the Sidebar to link to or upload course resources, including files and images [3].
Show Advanced Options
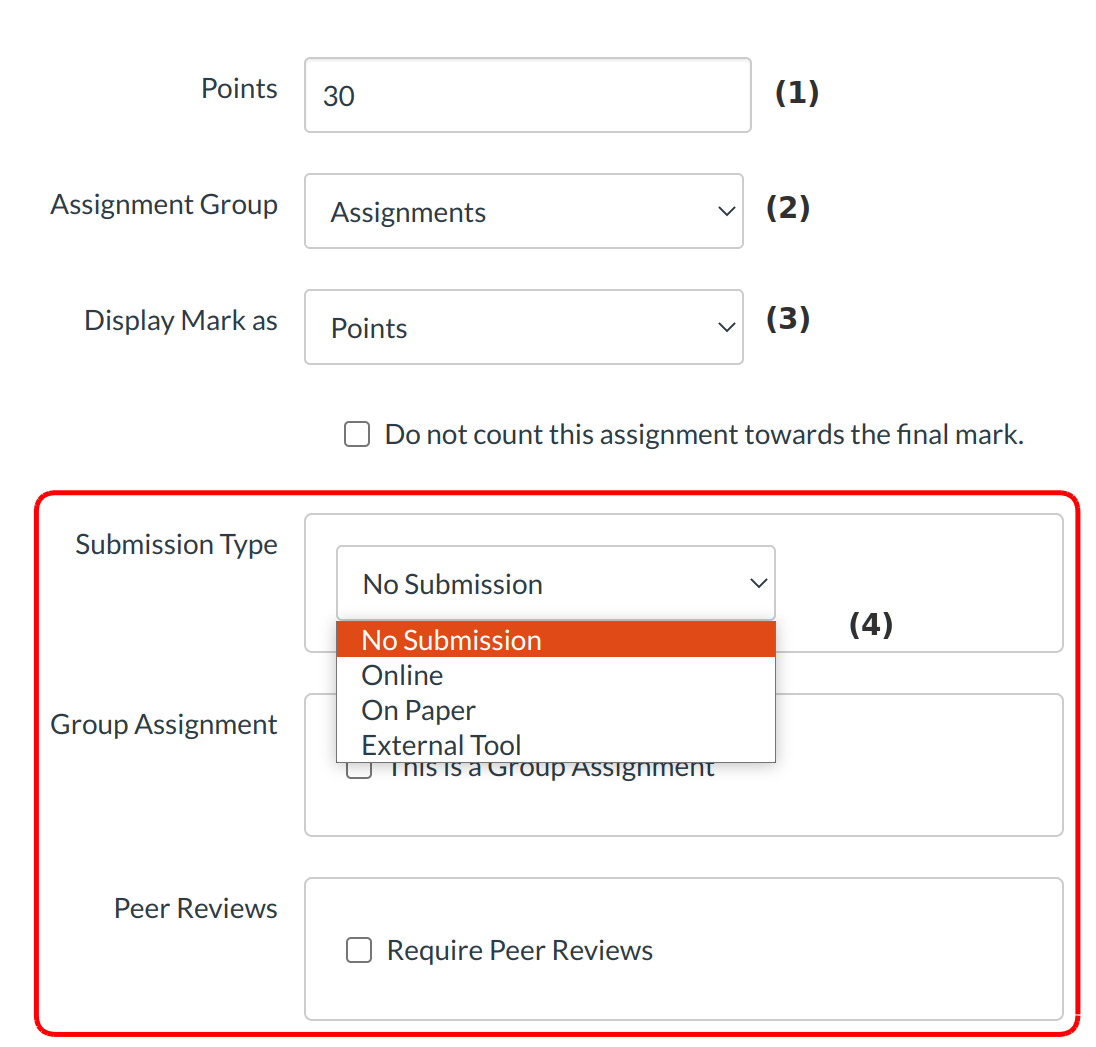
As part of creating your assignment shell, the points field [1], Assignment Group [2], and Display Mark as> [3] are already populated for you. You can edit these if necessary.
Some Advanced Options are available to edit the assignment details [4].
Select Grading Type
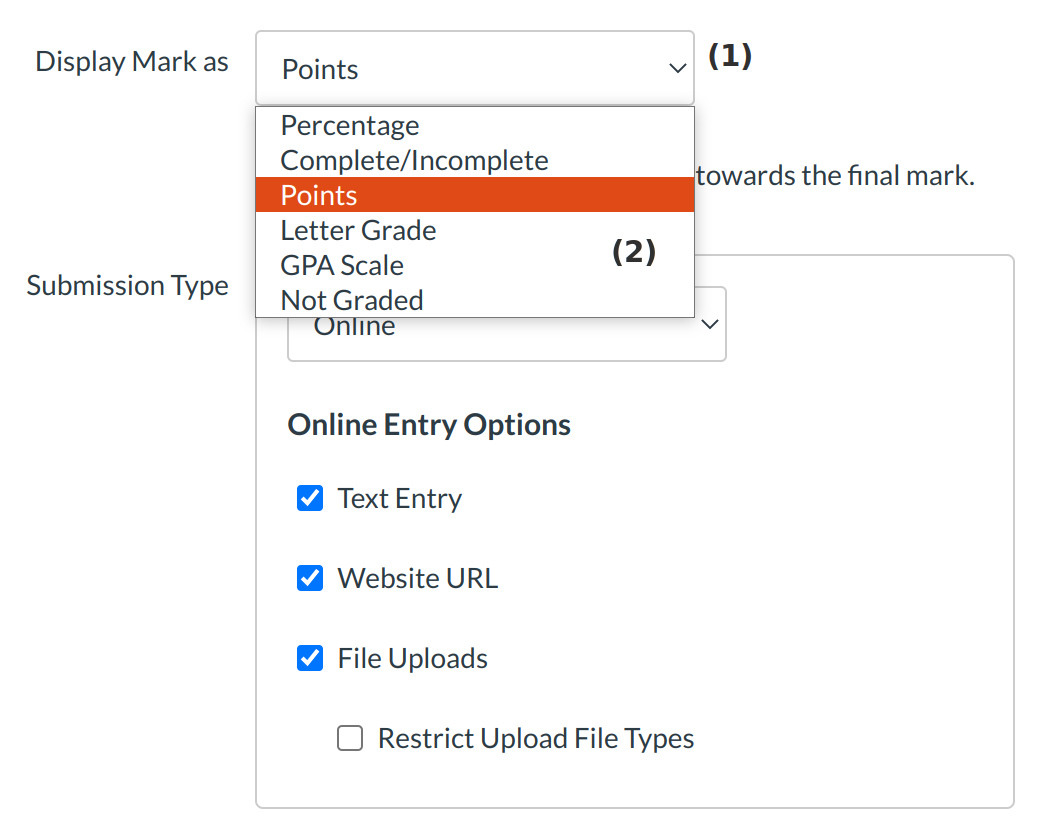
In the Grading Type drop-down menu [1], select the method you want to use for grading [2]. You can grade your assignment by percentage, complete/incomplete, points, letter grade, or not grade the assignment.
Select Submission Type
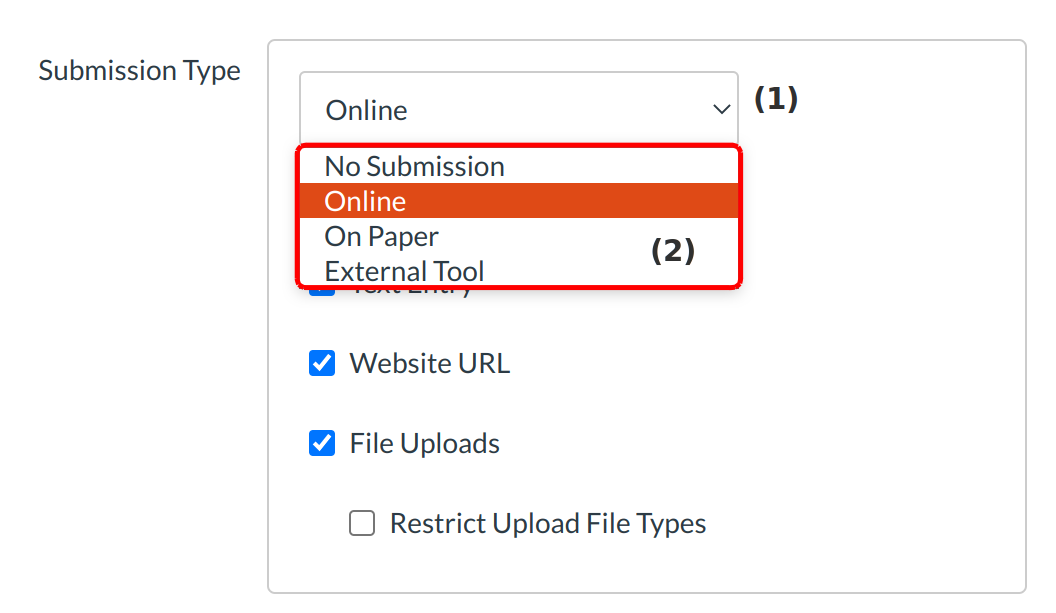
In the Submission Type drop-down menu [1], select the type of submission you want to accept for the assignment [2].
- No Submission is when you do not want students to submit an assignment in Sublime LMS ™. This assignment type can be used to create extra columns in the gradebook, or when you want to create an assignment that involves multiple scores.
- Online is when you want students to submit their assignments using Sublime LMS ™. There are four online submission types to choose from.
- On Paper is when you want students to submit an assignment to you but not through Sublime LMS ™. This assignment type applies to traditional face-to-face courses or hybrid courses when you want the assignment turned in during class, but you still want to create a column in the Sublime LMS ™ gradebook for grading purposes.
- External Tool is when you want students to submit their assignments using an external application (LTI) enabled for your course.
Edit Group Information
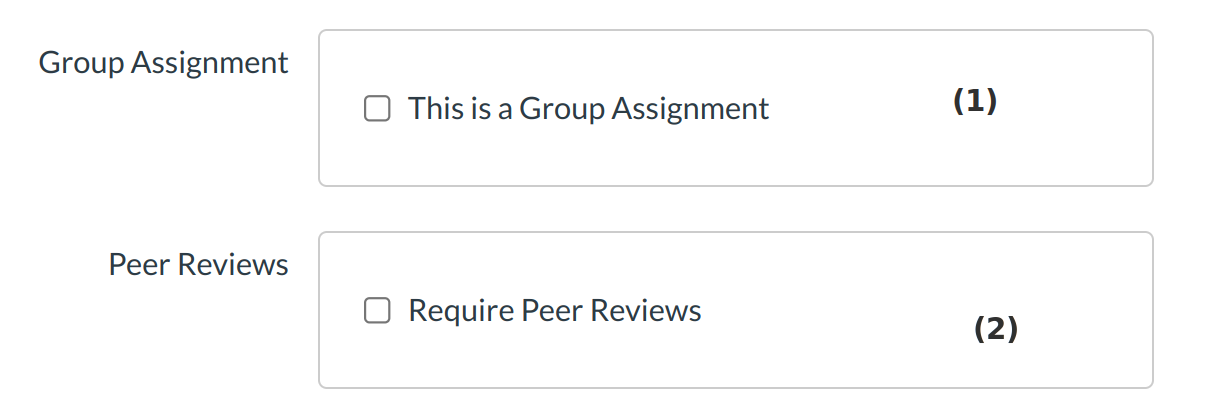
As part of an assignment submission,You can set up an assignment as a group assignment. If you want students to work together on the assignment as a group, select the This is a Group Assignment checkbox [1]. If you want to require students review each other's work, check the Require Peer Reviews checkbox [2].
Create Group Assignment
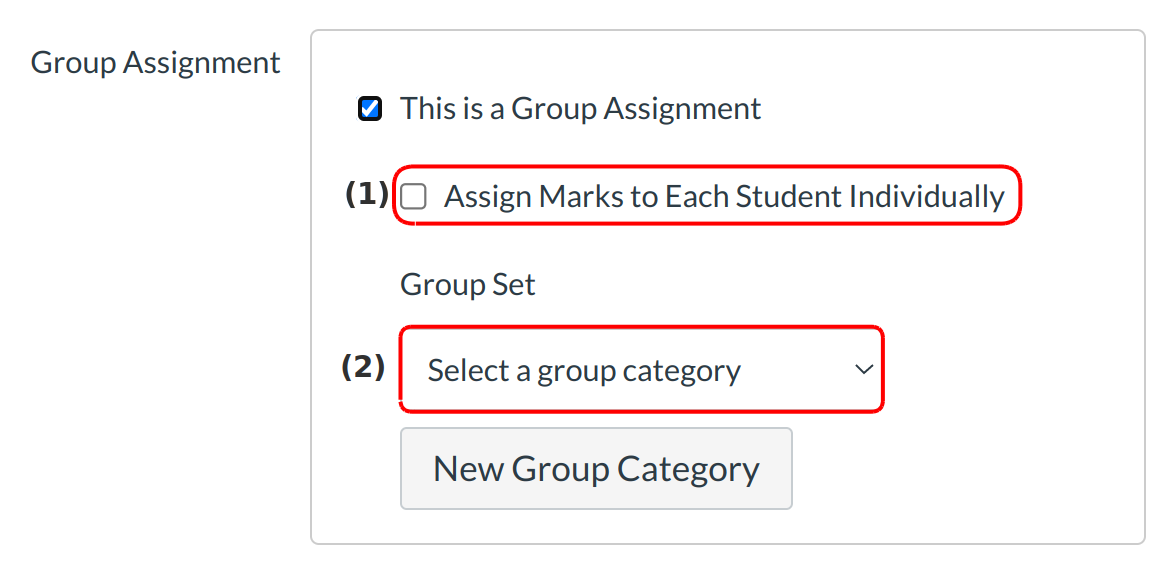
Some instructors choose to grade students individually even though they are participating in a group assignment. If you want to assign grades individually, check the Assign Marks to Each Student Individually checkbox [1]. Then select the set of groups category you want to use for the assignment [2].
Require Peer Reviews
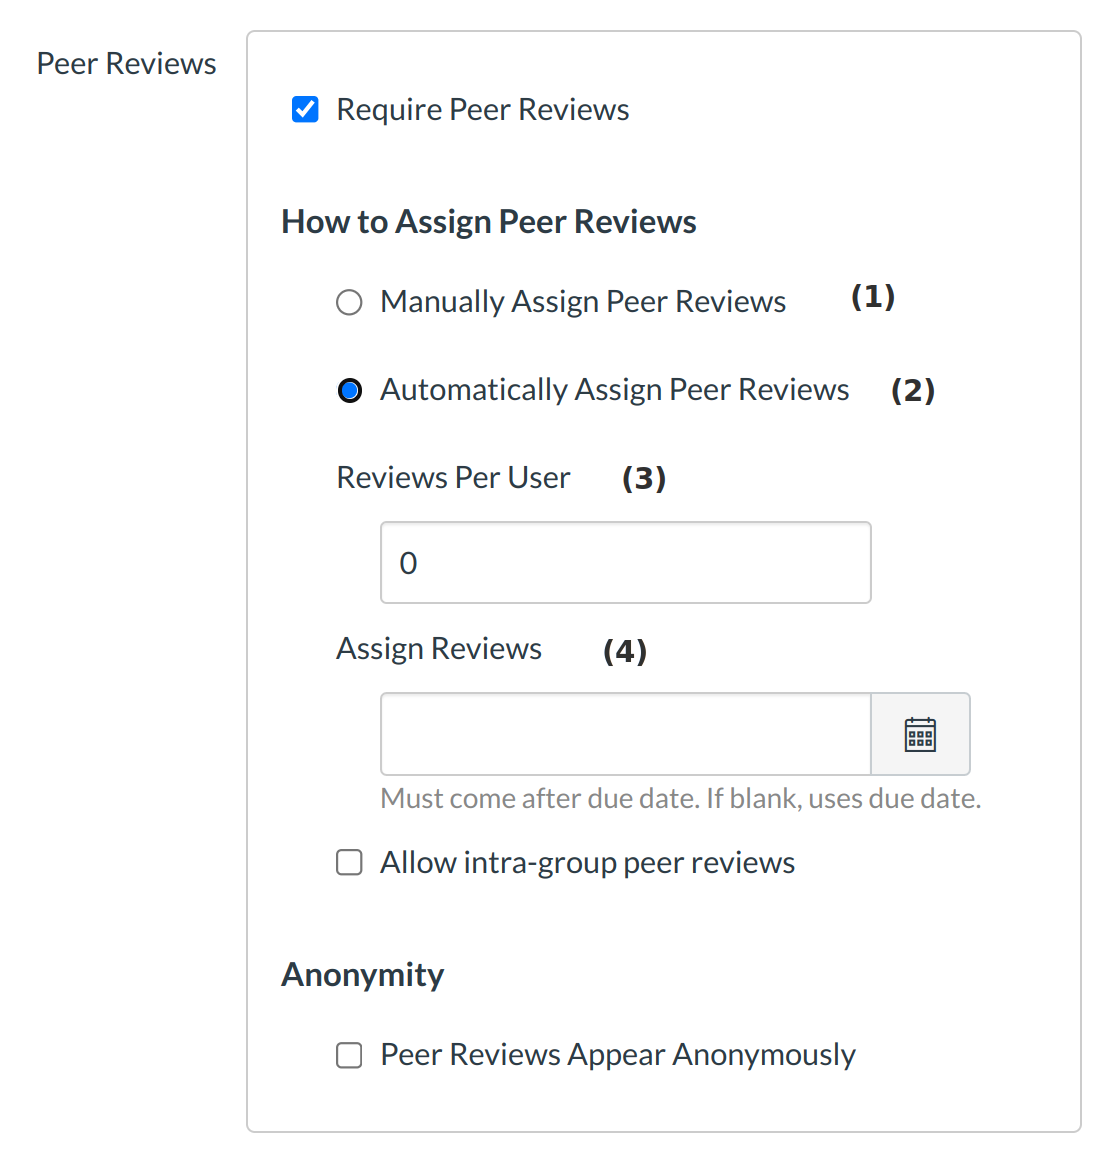
When requiring peer reviews, you can select whether to manually assign peer reviews [1] or automatically assign peer reviews [2]. Select the radio button next to the option you prefer.
If you automatically assign peer review, the menu will expand. In the Reviews Per user field [3], enter the number of reviews each student will be required to complete. In the Assign Reviews field [4], type in the date when should automatically distribute peer reviews to each student.
Edit Due and Availability Dates
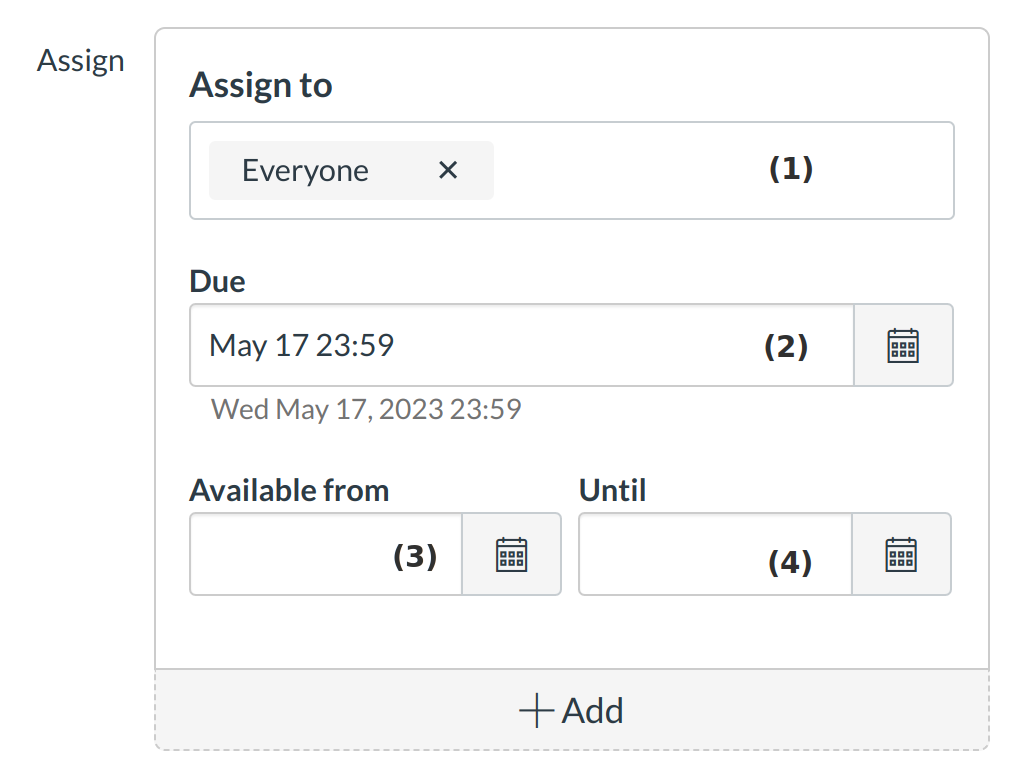
By default, Sublime will set your assignment Assign to everyone in your course [1]. The Due [2] will already be populated for you, but you can change it if necessary. You also have the option to add Available from and Until date fields in [3] and [4] respectively.
Varied Due Dates
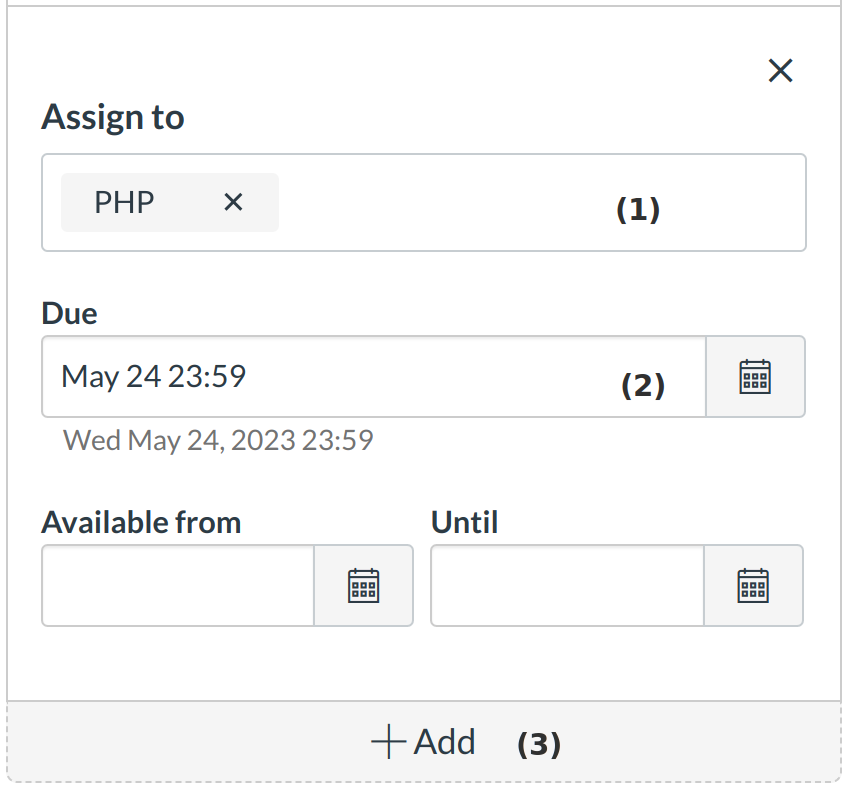
If you have sections in your course and want to create varied due dates, you can use the drop-down menus to choose a specific section [1] and the Due date for that section [2]. You can create additional due dates for other course sections by clicking the Add button [3].
Update Assignment

If you want to notify users about any future assignment changes, click the Notify users that this content has changed checkbox [1]. Click the Save button [2] to save your changes.