How do I compose and send a message?
The compose message icon creates a new window in the middle of your screen. You can filter recipients by course, send messages to individuals, multiple recipients, or course rosters, create subject lines, and add attachments.
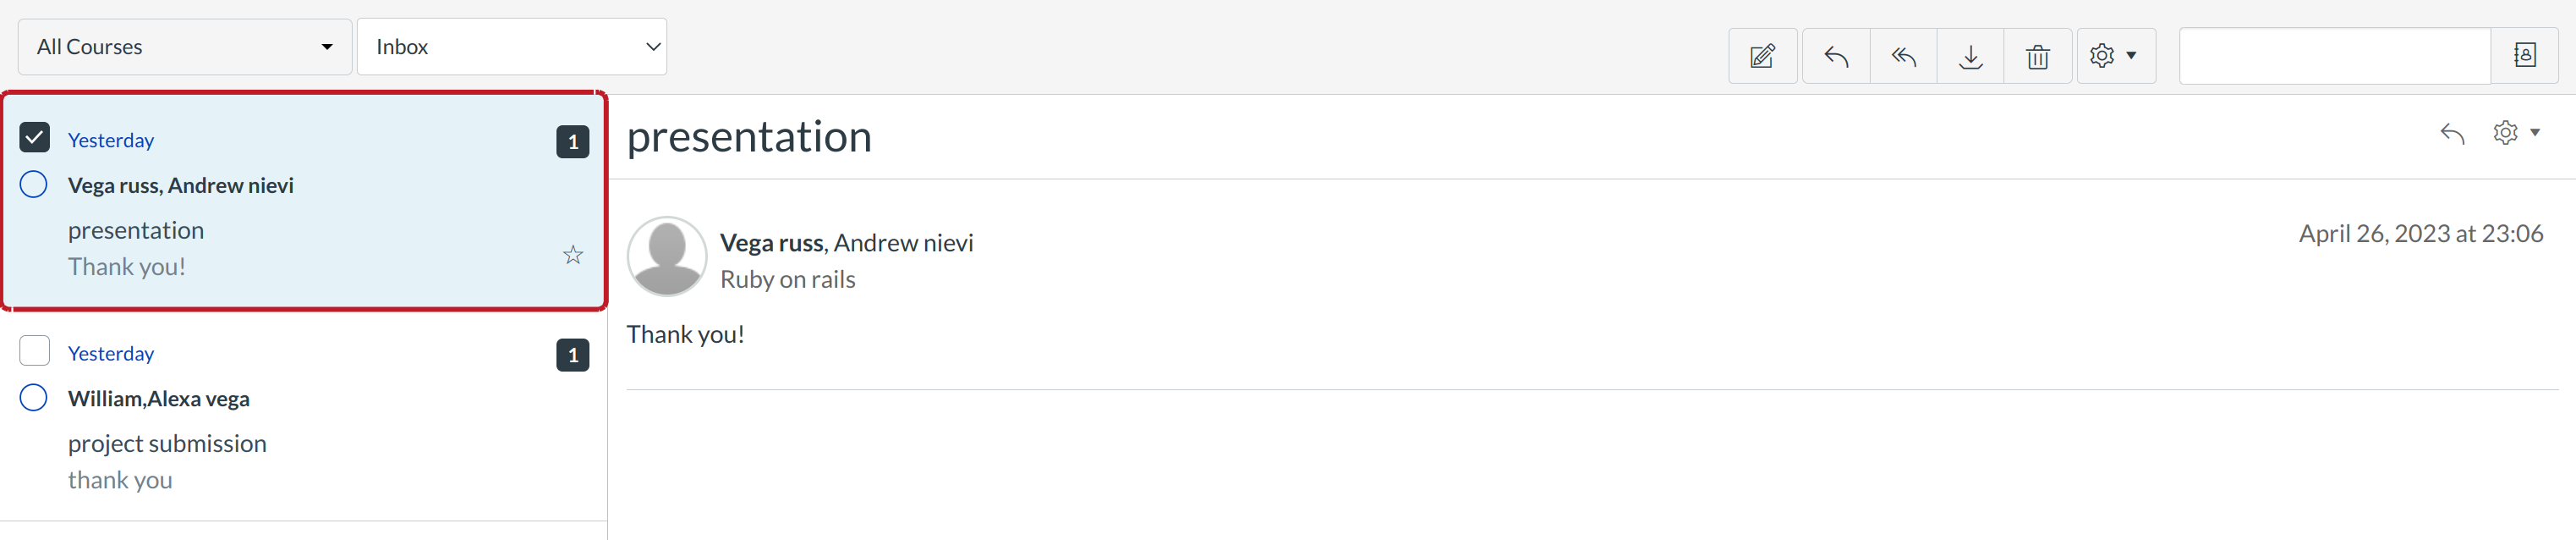
Open the Inbox
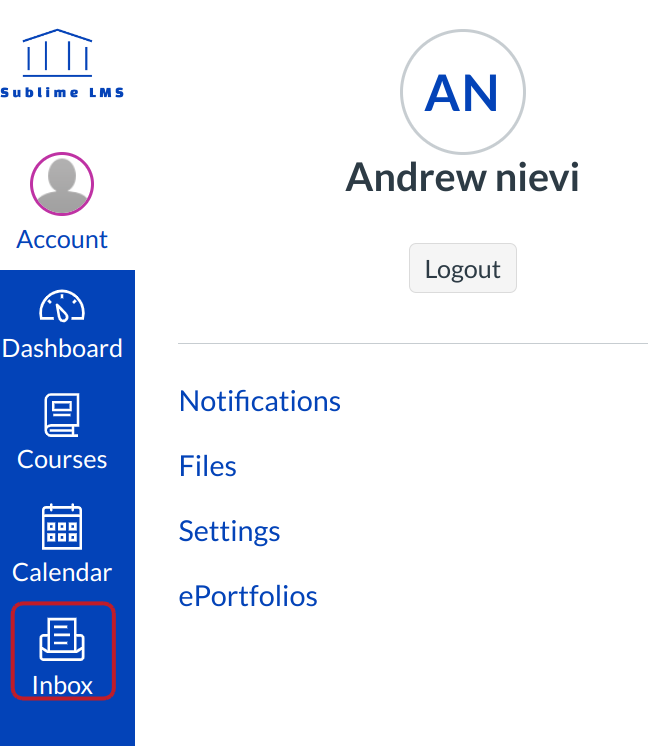
Click the Inbox link.
Compose Window
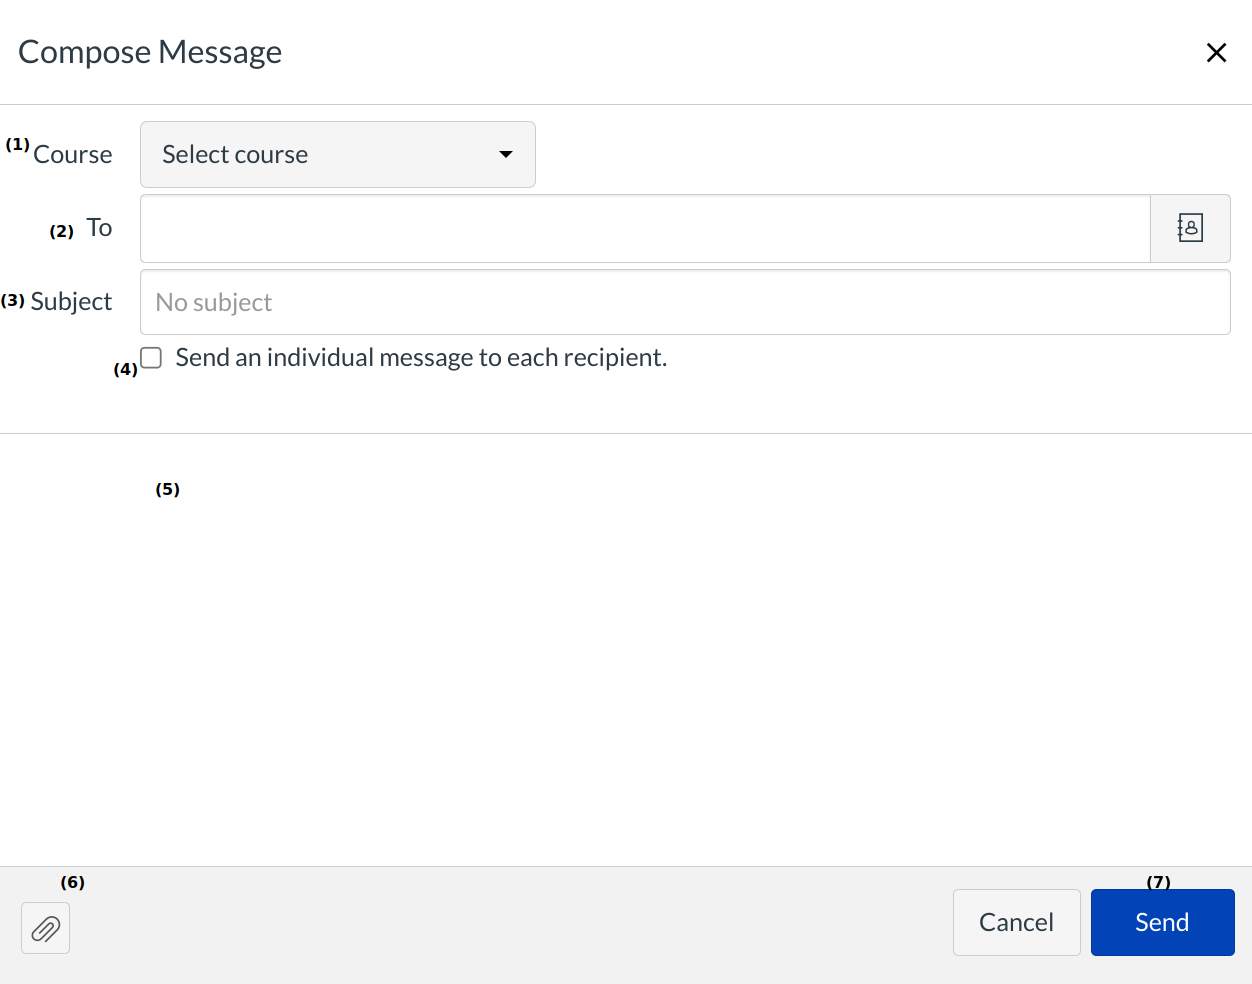
In the compose message window, you can:
- Filter the course
- Add recipients (Note: You can only add recipients once you have selected a course)
- Enter a subject line
- Optional: Select the Bulk messages checkbox to create individual messages for all recipients in the To: field.
- Type a message
- Attach files or media
- Click the Send button
Filter Course
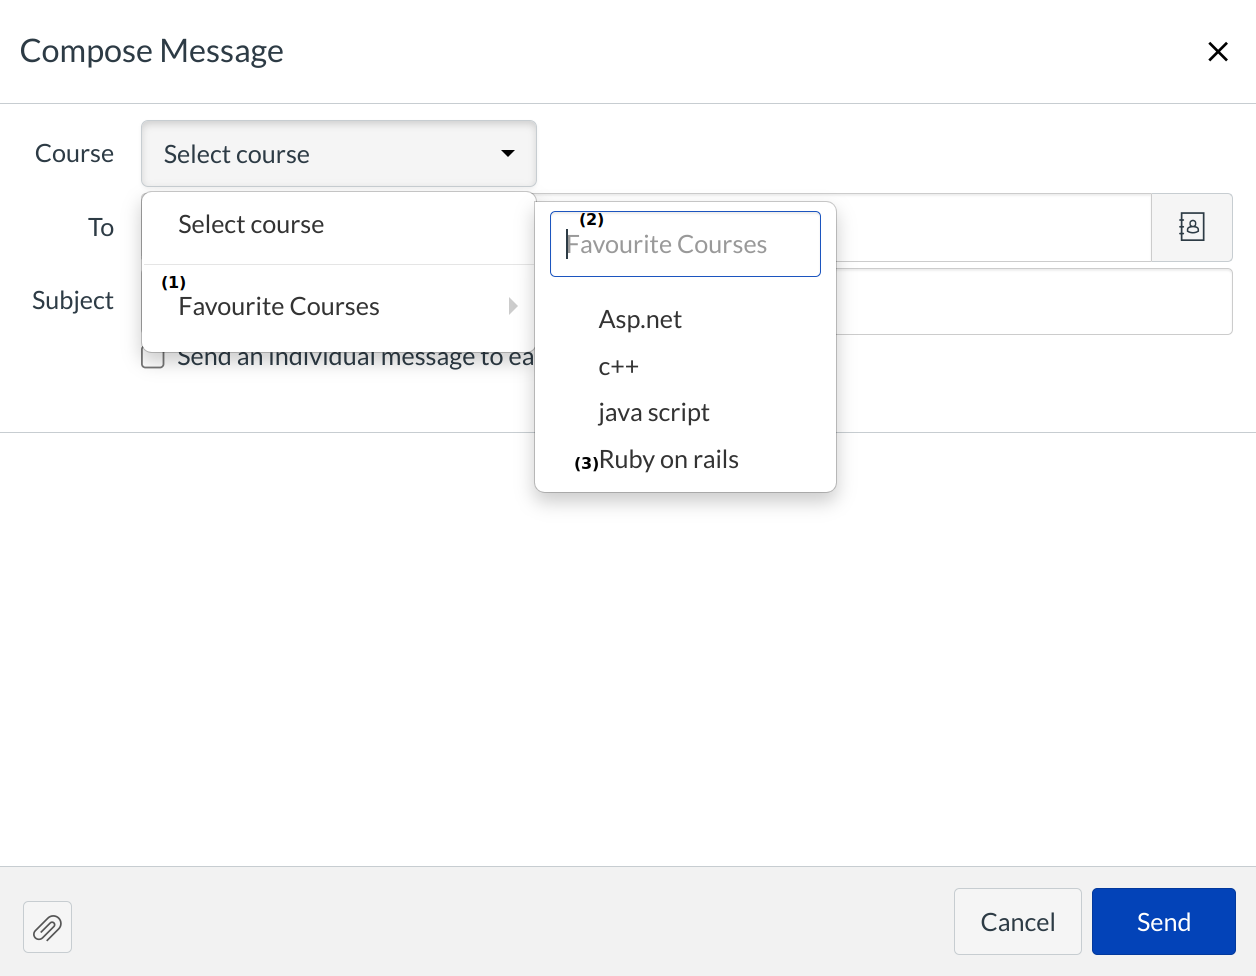
In the Courses drop-down menu, select the course where you want to send your message. You can filter your courses by current favorite courses [1], Search courses [2], and choose anyone courses [3].
Note: If you filter your Course list by Concluded Courses, you will only be able to compose messages to instructors.
Type Name in the To Field
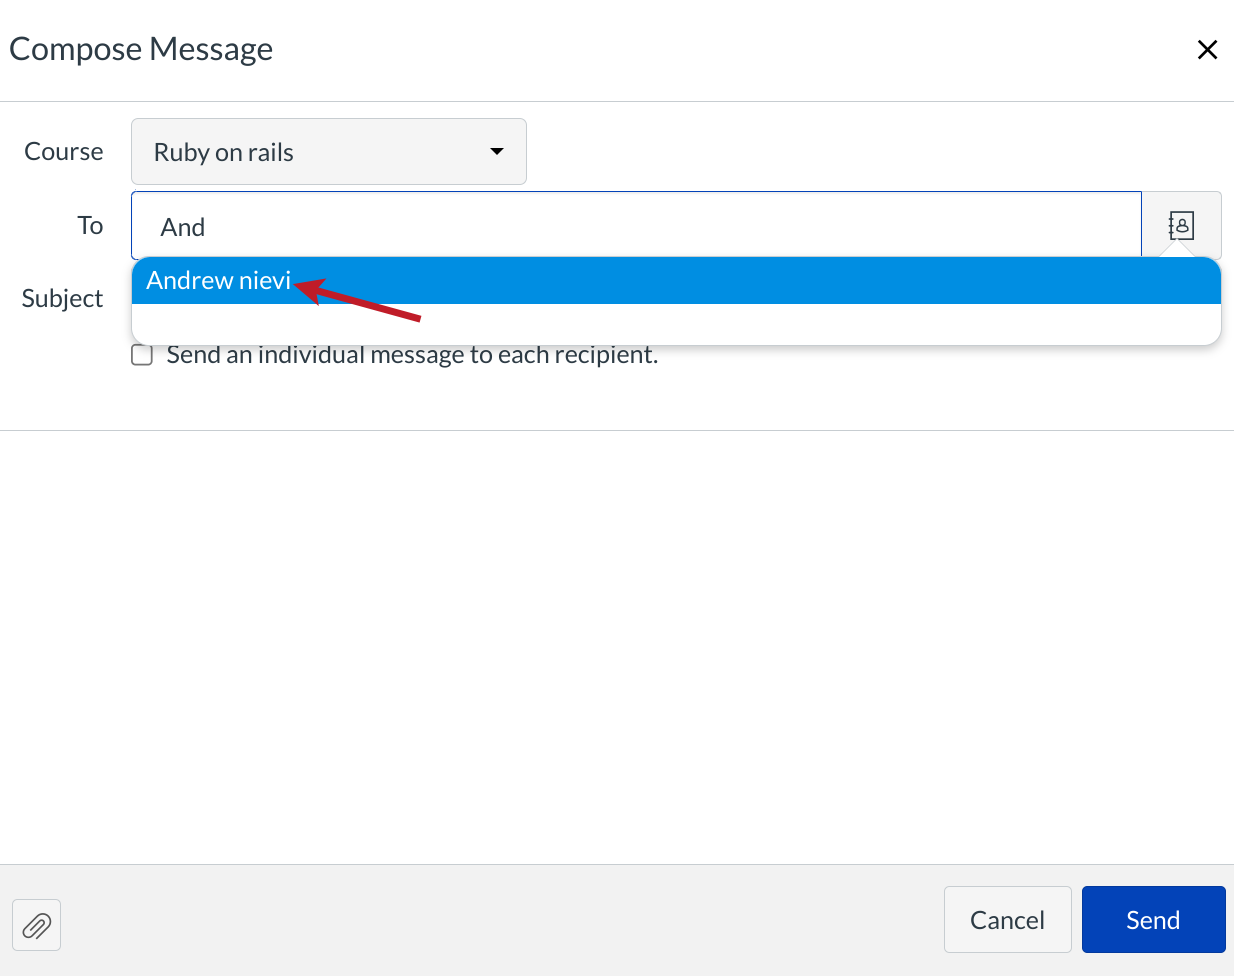
When you start typing an individuals name in the To field, LMS will automatically populate matching names. If multiple names appear, use the arrow key to select the individual you want to message. Then press Enter. The individual's name will appear in the To field, highlighted in light blue.
If you accidentally select the wrong individual(s), press Delete (on a MAC keyboard) or Backspace (on a PC keyboard) to remove the name(s).
You can also hover over a recipient name and click the white x to delete it from the To field.
Add Multiple Recipients
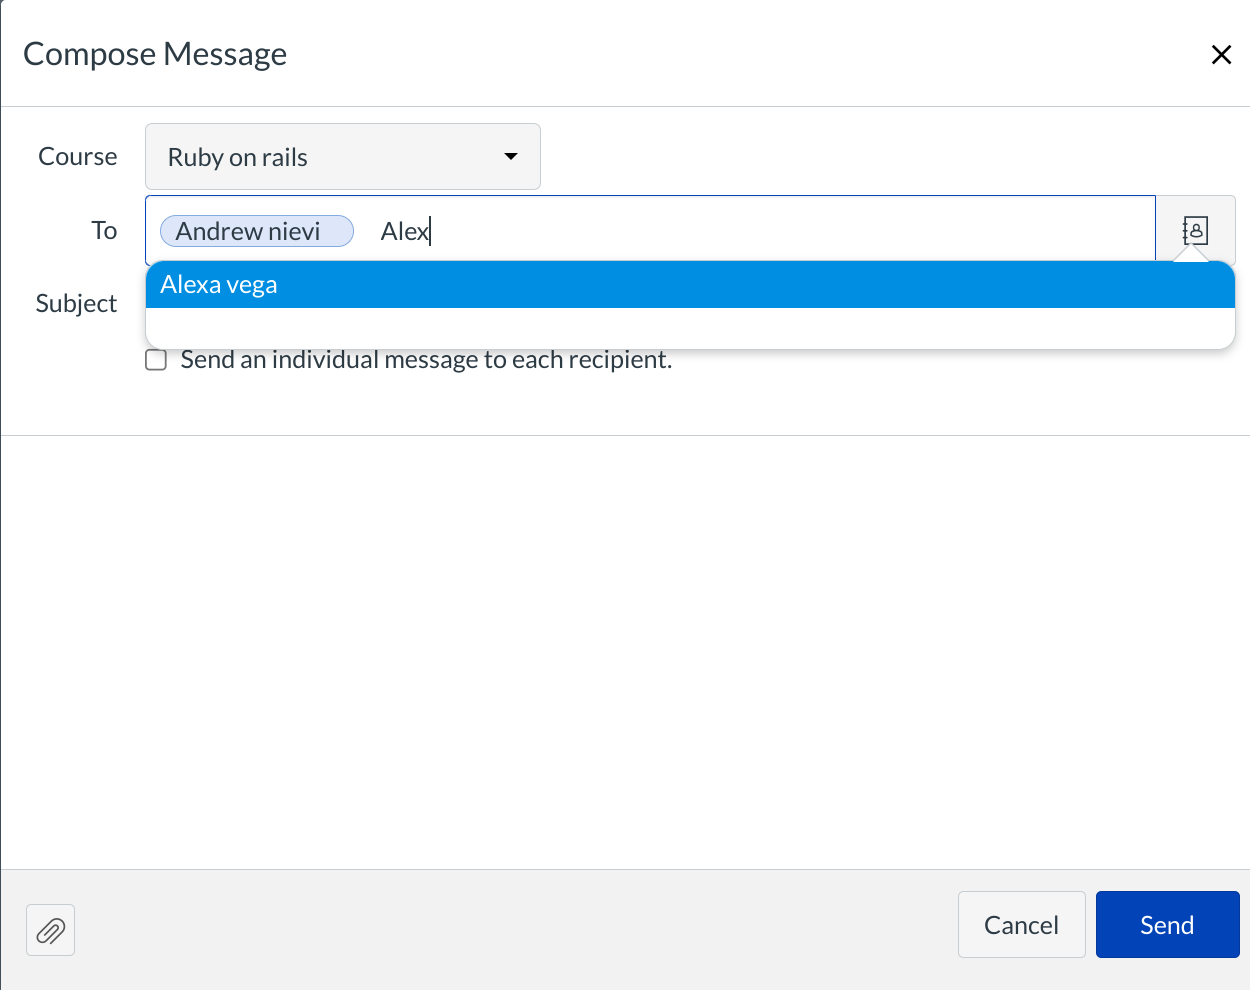
Type another name in the To field to send a message to multiple recipients.
If you accidentally select the wrong individual(s), press Delete (on a MAC keyboard) or Backspace (on a PC keyboard) to remove the name(s).
You can also hover over a recipient name and click on the white x to delete it from the To field.
Note: If you have a long list of recipients, the To field will only show 5 lines before scrolling is enabled. If you select the Send individual messages checkbox, individual messages for all recipients will be created.
Use Course Roster
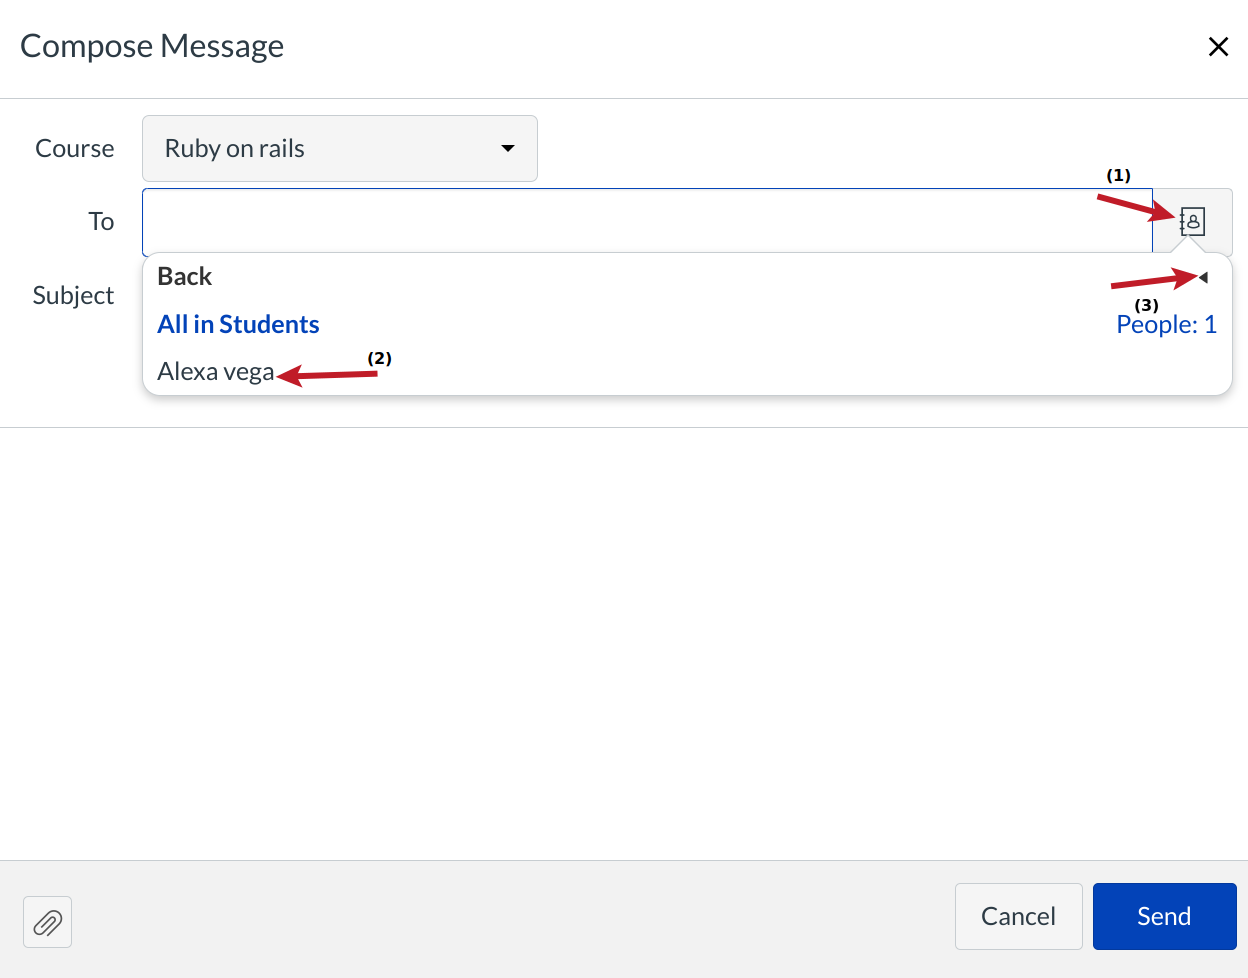
To select an individual from the course roster, click the Address Book icon [1] next to the To field. From the address book, locate the individual and select his or her name [2]. Repeat this step if you want to send the message to multiple individuals. To navigate back to the course roster, use the arrow icon [3].
To exit the course roster menu, press Return (on a MAC keyboard) or Enter (on a PC keyboard).