How to format and edit the Contents in a Lesson?
In this document, we will see how to format and edit the contents in any component. We will also have a look at some common tasks involved in creating lessons with the Responsive E-learning Components.
Format the Texts
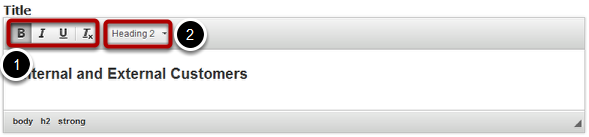
You can format the title of the page using four Formatting [1] buttons shown above.
The formatting options available for the title field are:
- Bold
- Italic
- Underline
- Remove Format
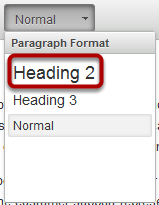
You can also change the size of the title by clicking the Paragraph Format [2] drop down menu. The sizes available are:
- Normal
- Heading 3
- Heading 2
To change the format of the title, just select the contents of the title, click any of the four formatting buttons or Paragraph Format drop down menu and select any one of the options.
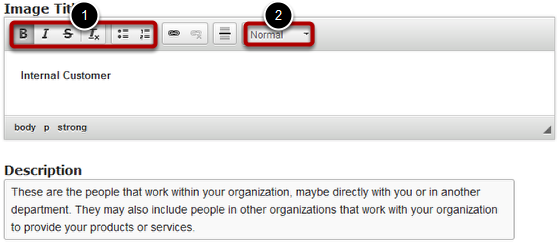
Similarly, you can format the contents of description and feedback fields using six Formatting [1] buttons shown above. The formatting options available are:
- Bold
- Italic
- Strike Through
- Remove Format
- Insert/Remove Bulleted List
- Insert/Remove Numbered List
You can also change the size of the description text by clicking the Paragraph Format [2] drop down menu. The sizes available are:
- Normal
- Heading 3
- Heading 2
To change the format of the description text, just select the contents, click the any of the six formatting buttons or Paragraph Format drop down menu and select any one of the options.
The availability of the Formatting buttons and Paragraph Format drop down menus depends on the component you are working with. For example, even the title fields may contain hyperlinks and the description and feedback fields may not have formatting options at all in some components.
Add Titles where there is no Title Field
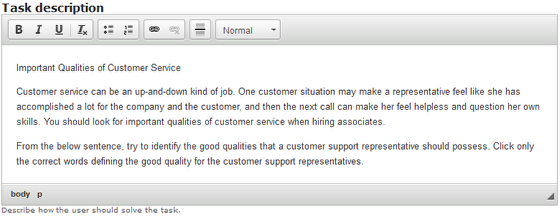
In some components, the title field may not be provided separately. For example, the Mark the Words component doesn't have the title field. However, you can use the Task description field in this component to add a title for the page. To do that, type the contents normally in the Task description field as shown above. But make sure you type the title in a separate line.
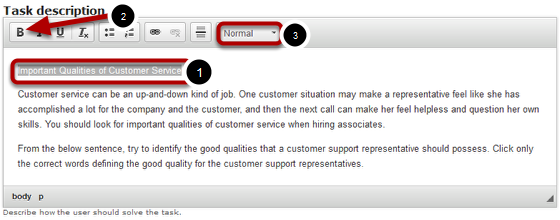
Then select the contents of the title, i.e., the first line as shown [1] above. Then click the Bold [2] button. You can make the title even bigger by clicking the Paragraph Format [3] dropdown menu shown above.
Then select Heading 2 option from the dropdown menu.
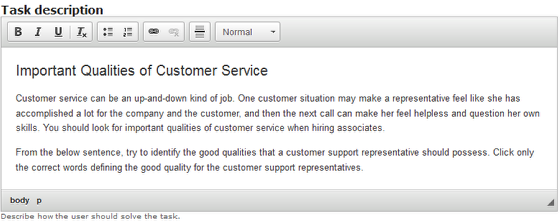
Now you can see a title has been added successfully to the page.
Add and remove Hyperlinks
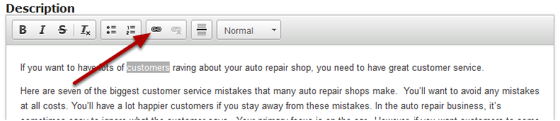
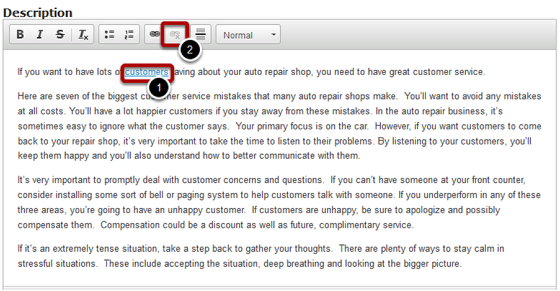
You can add hyperlinks to any words wherever it is available. To add a hyperlink, just select the words and click on the Link button as shown in the above image. You will see the below Link window.
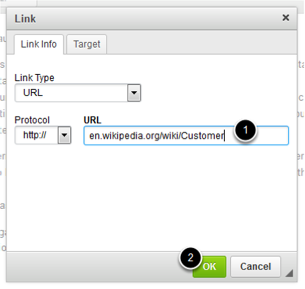
You can also select where the linked website should appear. To do that, go to the Target tab on the above screen which will be similar to the one shown below.
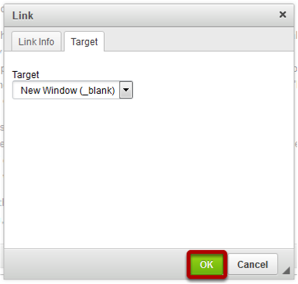
You have two options to set the target window for the hyperlinks. They are:
-
New Window (_blank): The linked website will appear in a new tab on the same browser window.
-
Same Window (_self): The linked website will appear in the same browser window replacing the current contents.
Once you’ve selected the target window, click on the OK button to save the changes as shown in the above image. You can see the hyperlink being added to the content [1] as shown in the below image.
Once you've added a link to the text, you can edit the link just by double click ing the linked text. Or you can select the linked text and select the Link button again. The Link window will appear again where you can edit it again. You can remove the link from linked text easily as well. Just select the linked text and click the Unlink [2] button. The link will be removed from the linked text.
Insert Horizontal Line between Texts
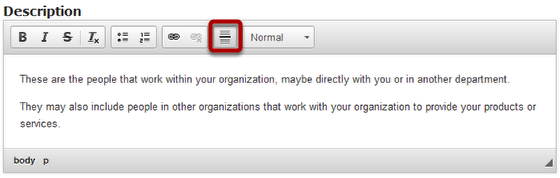
You can also insert a horizontal line wherever this option is available by clicking the Insert Horizontal Line button shown in the above image. Just place the cursor where you want to insert the horizontal line and click the button.
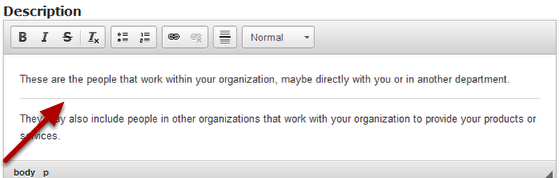
You can see that the line has been added in the text as shown in the above image.
Add Images to the Lessons
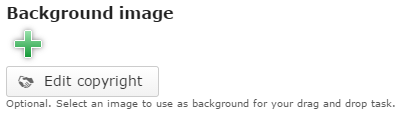
You can upload images wherever applicable by clicking the '+' [1] icon as shown in the above image. You will choose an image file as shown in the below image.
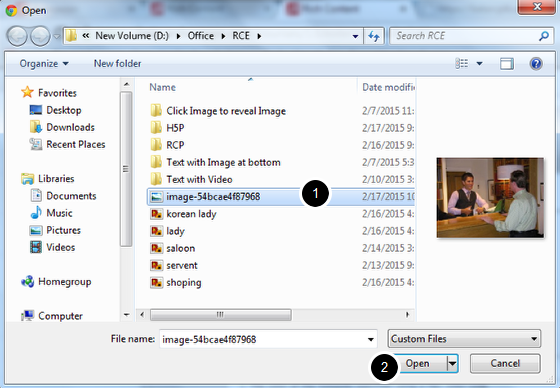
On the above screen, select the required image [1] and click the Open [2] button.
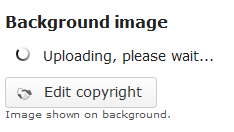
You can see image being uploaded as shown in the above image.
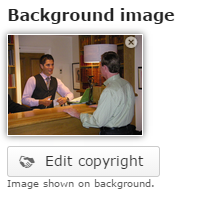
Once the image has been uploaded, you will be shown a preview of the image as shown in the above image.
Update Copyright Details

Optionally, you can update the copyright details of the uploaded image by clicking the Edit copyright button shown above.
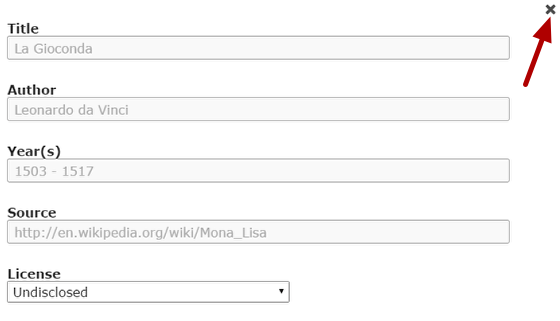
Once you click the button, you will see the above screen. You can enter the image's copyright details on the above screen and click the Close button to update it.
Remove or change the Image
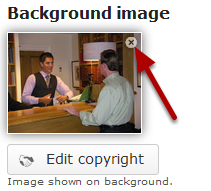
You can remove the uploaded image by clicking on the Remove file button shown on the above image. You will see the below prompt screen.
You can also update the image without removing it by clicking on the image. You will be prompted again to select an image.
Remove or Change the Order of Fields
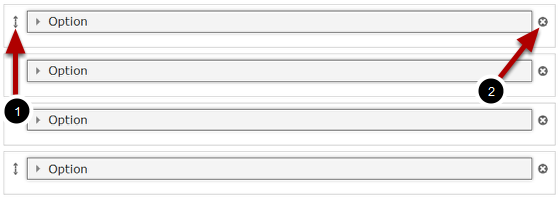
In some components, there may be many fields which can be organized or removed. For example, on the above image, we have 4 answers. To change their orders, just click the double headed arrow [1] button on the left side of the answer, and drag and drop it to the new location.
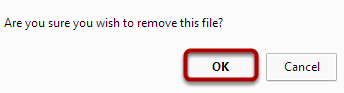
You can also remove any answer by clicking the Remove [2] button on the right side of the answer. You will see the below prompt window.
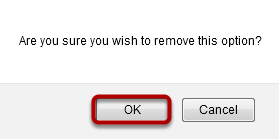
Click the OK button to confirm deleting the answer.
Update Mandatory Fields
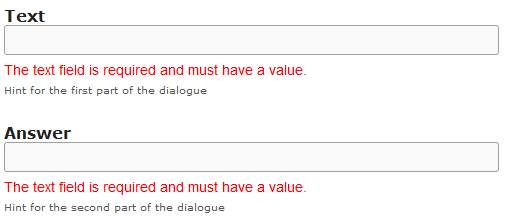
Make sure you always update mandatory fields. If you try to click the Done button without updating any mandatory field, you won't be able to update the page. The unfilled mandatory fields will be shown with a warning message below each field as shown above. Scroll to the mandatory fields and update them to save the page.